
When it comes to how to make labels, one of the most common things we see in homes is a great system—without them.
It’s often the step people skip, but it’s also the step that keeps everything working. Labels create clarity, reinforce the system, and make it easy for items to go back where they belong.
Without them, even the most organized spaces start to break down over time.
Affiliate Disclosure:
We want to be transparent and inform our users that some of the links on this website are affiliate links. This means that if you purchase through these links, we may earn a commission, at no additional cost to you. We only recommend products or services that we believe will add value to our readers. Your support through these affiliate links helps us maintain and improve our content. Thank you for your support!
HOW TO MAKE LABELS
DECIDE ON YOUR STYLE
Before creating labels, decide on a style that feels clean and consistent to you.
You’ll see these every day, so it should be something you like looking at. Whether it’s simple and minimal or slightly more styled, consistency is what makes the space feel intentional.
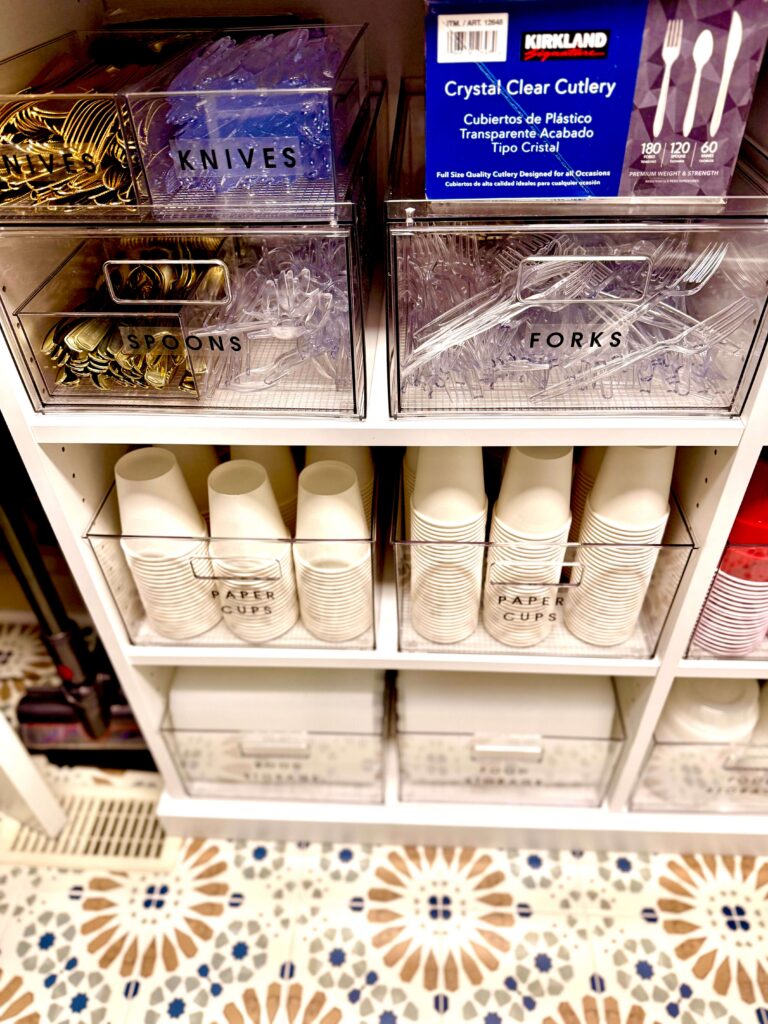
1. Label Maker
This is our go-to for most projects. It creates a clean, uniform look and is quick to use, which makes it easier to stay consistent throughout the home. This label maker is the brand we have used for years.
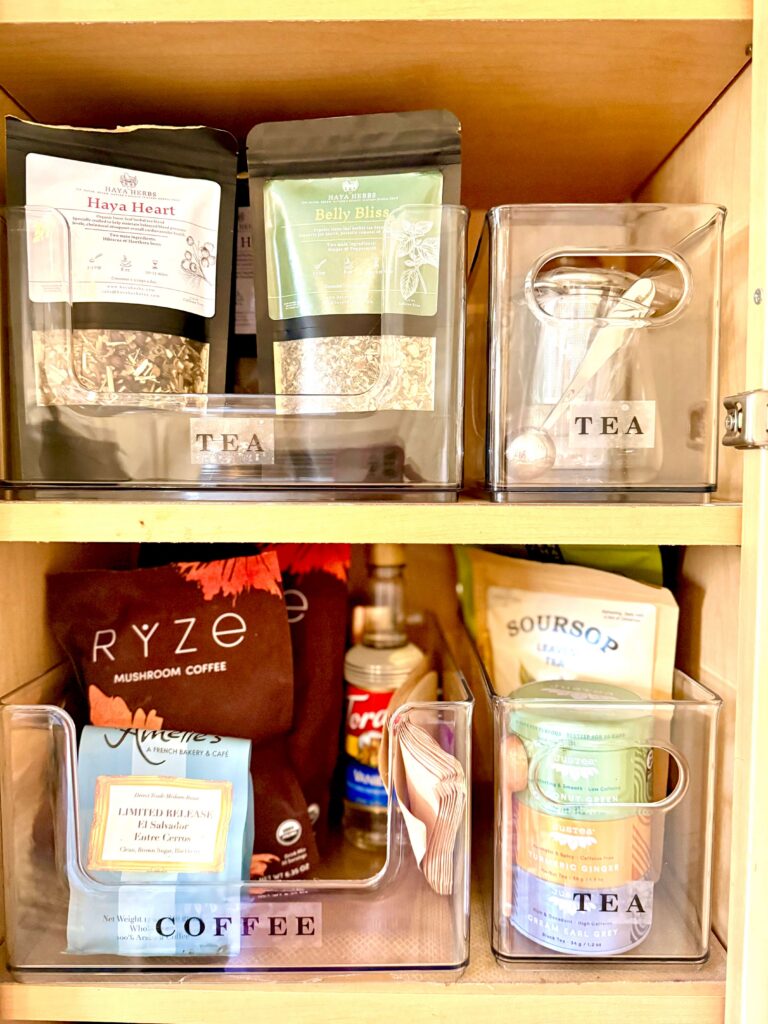
2. Handwritten
Handwritten labels add a softer, more personal feel. They work well in spaces where you want a more relaxed look, while still keeping categories clear.
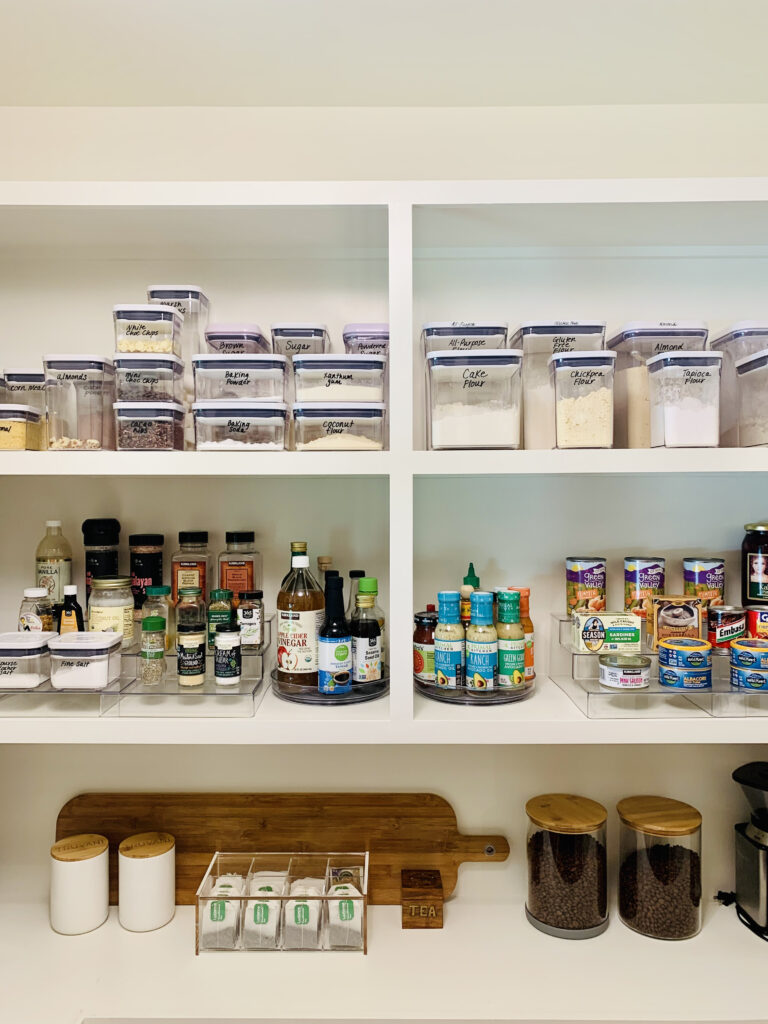
3. Custom Labels (Cricut)
For a more design-forward approach, custom labels offer flexibility with fonts and layouts. This option takes more time, but allows for a more customized finish.

Keep the Process Simple
Once you’ve chosen your method, the goal is to keep things straightforward.
Focus on:
- Clear, easy-to-read text
- Consistent sizing where possible
- Categories that make sense for how you use the space
You don’t need to overcomplicate it. Simple, clear labels are what make a system easy to maintain.
Label Placement
Where you place the label is just as important as the label itself.
It should be:
- Easy to see at a glance
- Consistent across similar bins or containers
- Positioned where it won’t be covered or hidden
In most cases, the center of the bin works well, but adjust as needed based on the design of the container or shelf.
Small Details That Make A Difference
A few simple choices can elevate the entire look:
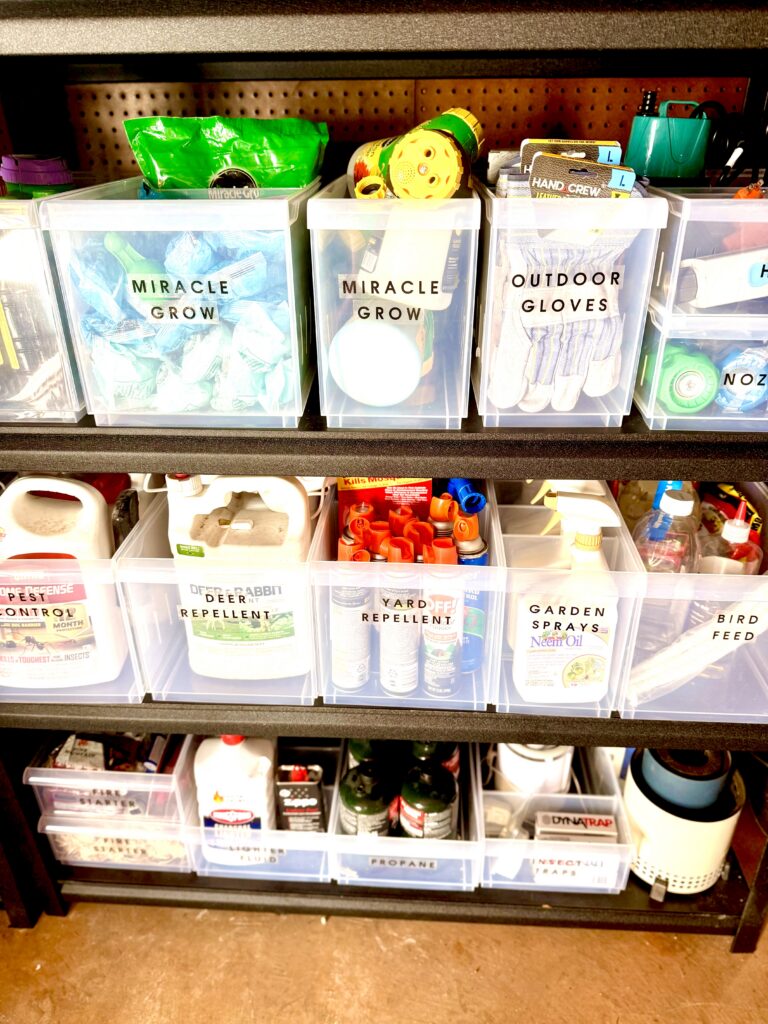
- High contrast (dark text on light bins or vice versa) improves visibility
- Larger text works better for bigger bins
- Keeping fonts consistent creates a more cohesive feel
These details help the space feel more intentional without adding complexity.
FINAL THOUGHTS
Labels are what turn organization into a system that lasts.
They remove the guesswork, create consistency, and make it easier for everyone in the home to maintain the space.
If you’re going to take the time to organize, this is the step that ensures it continues to work long after you’re done.


+ show Comments
- Hide Comments
add a comment