$8.24
Description
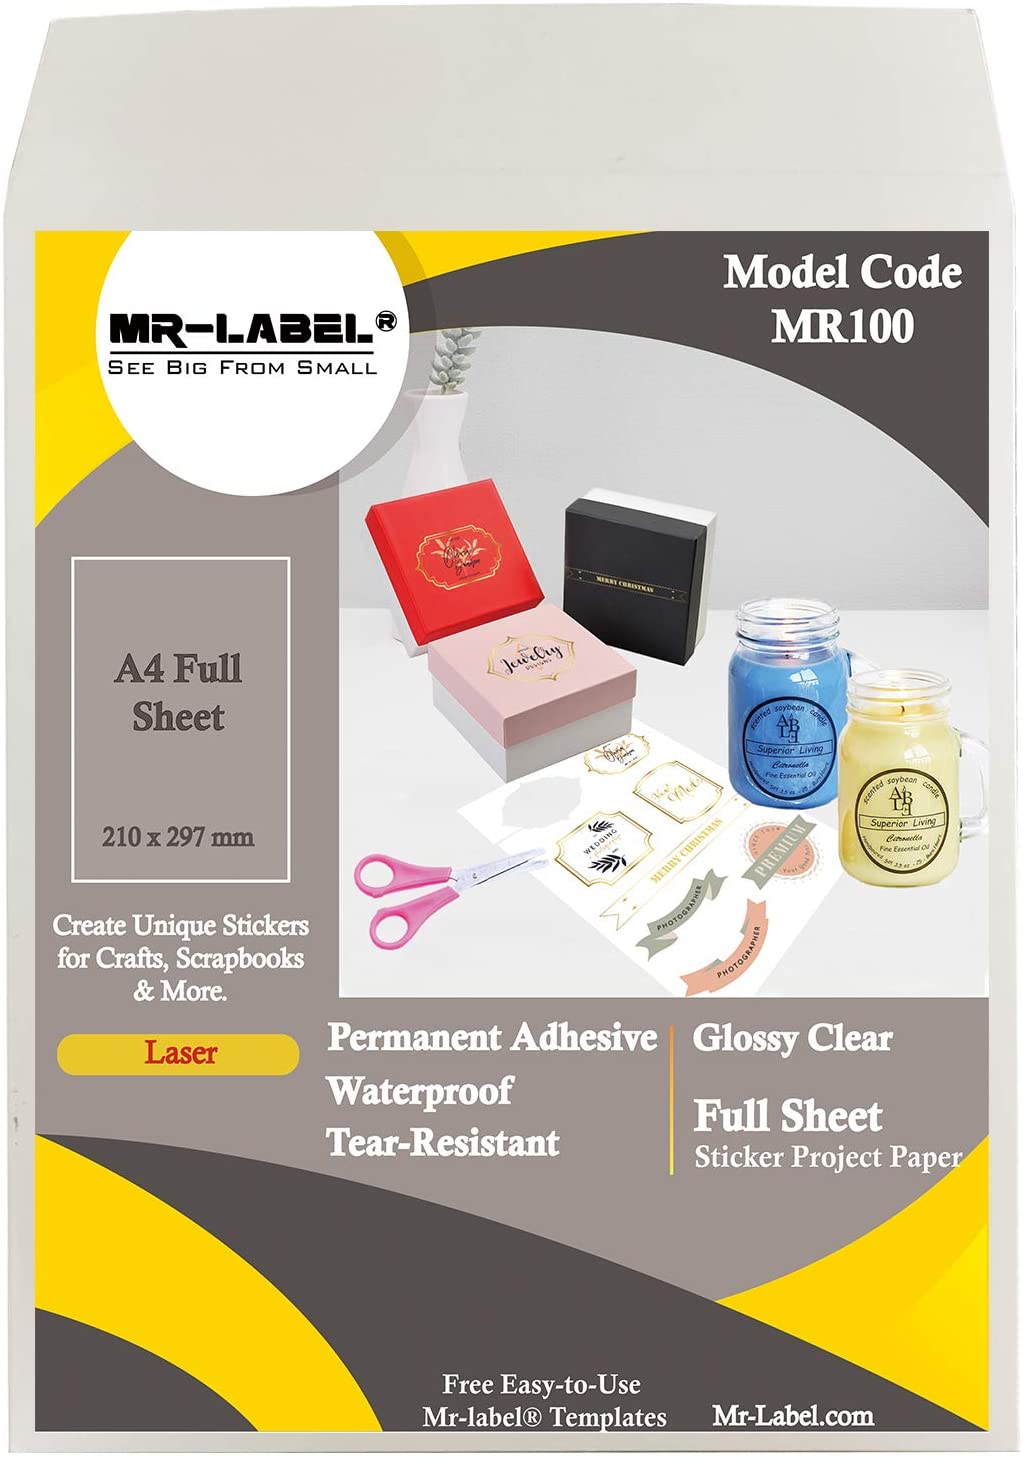
Having clean, beautiful labels you love is the cornerstone to an organized space. Labels are a critical step when organizing any space. If you don’t label your project, you have done all this work for nothing. DIY labels are an easy way to label your project.
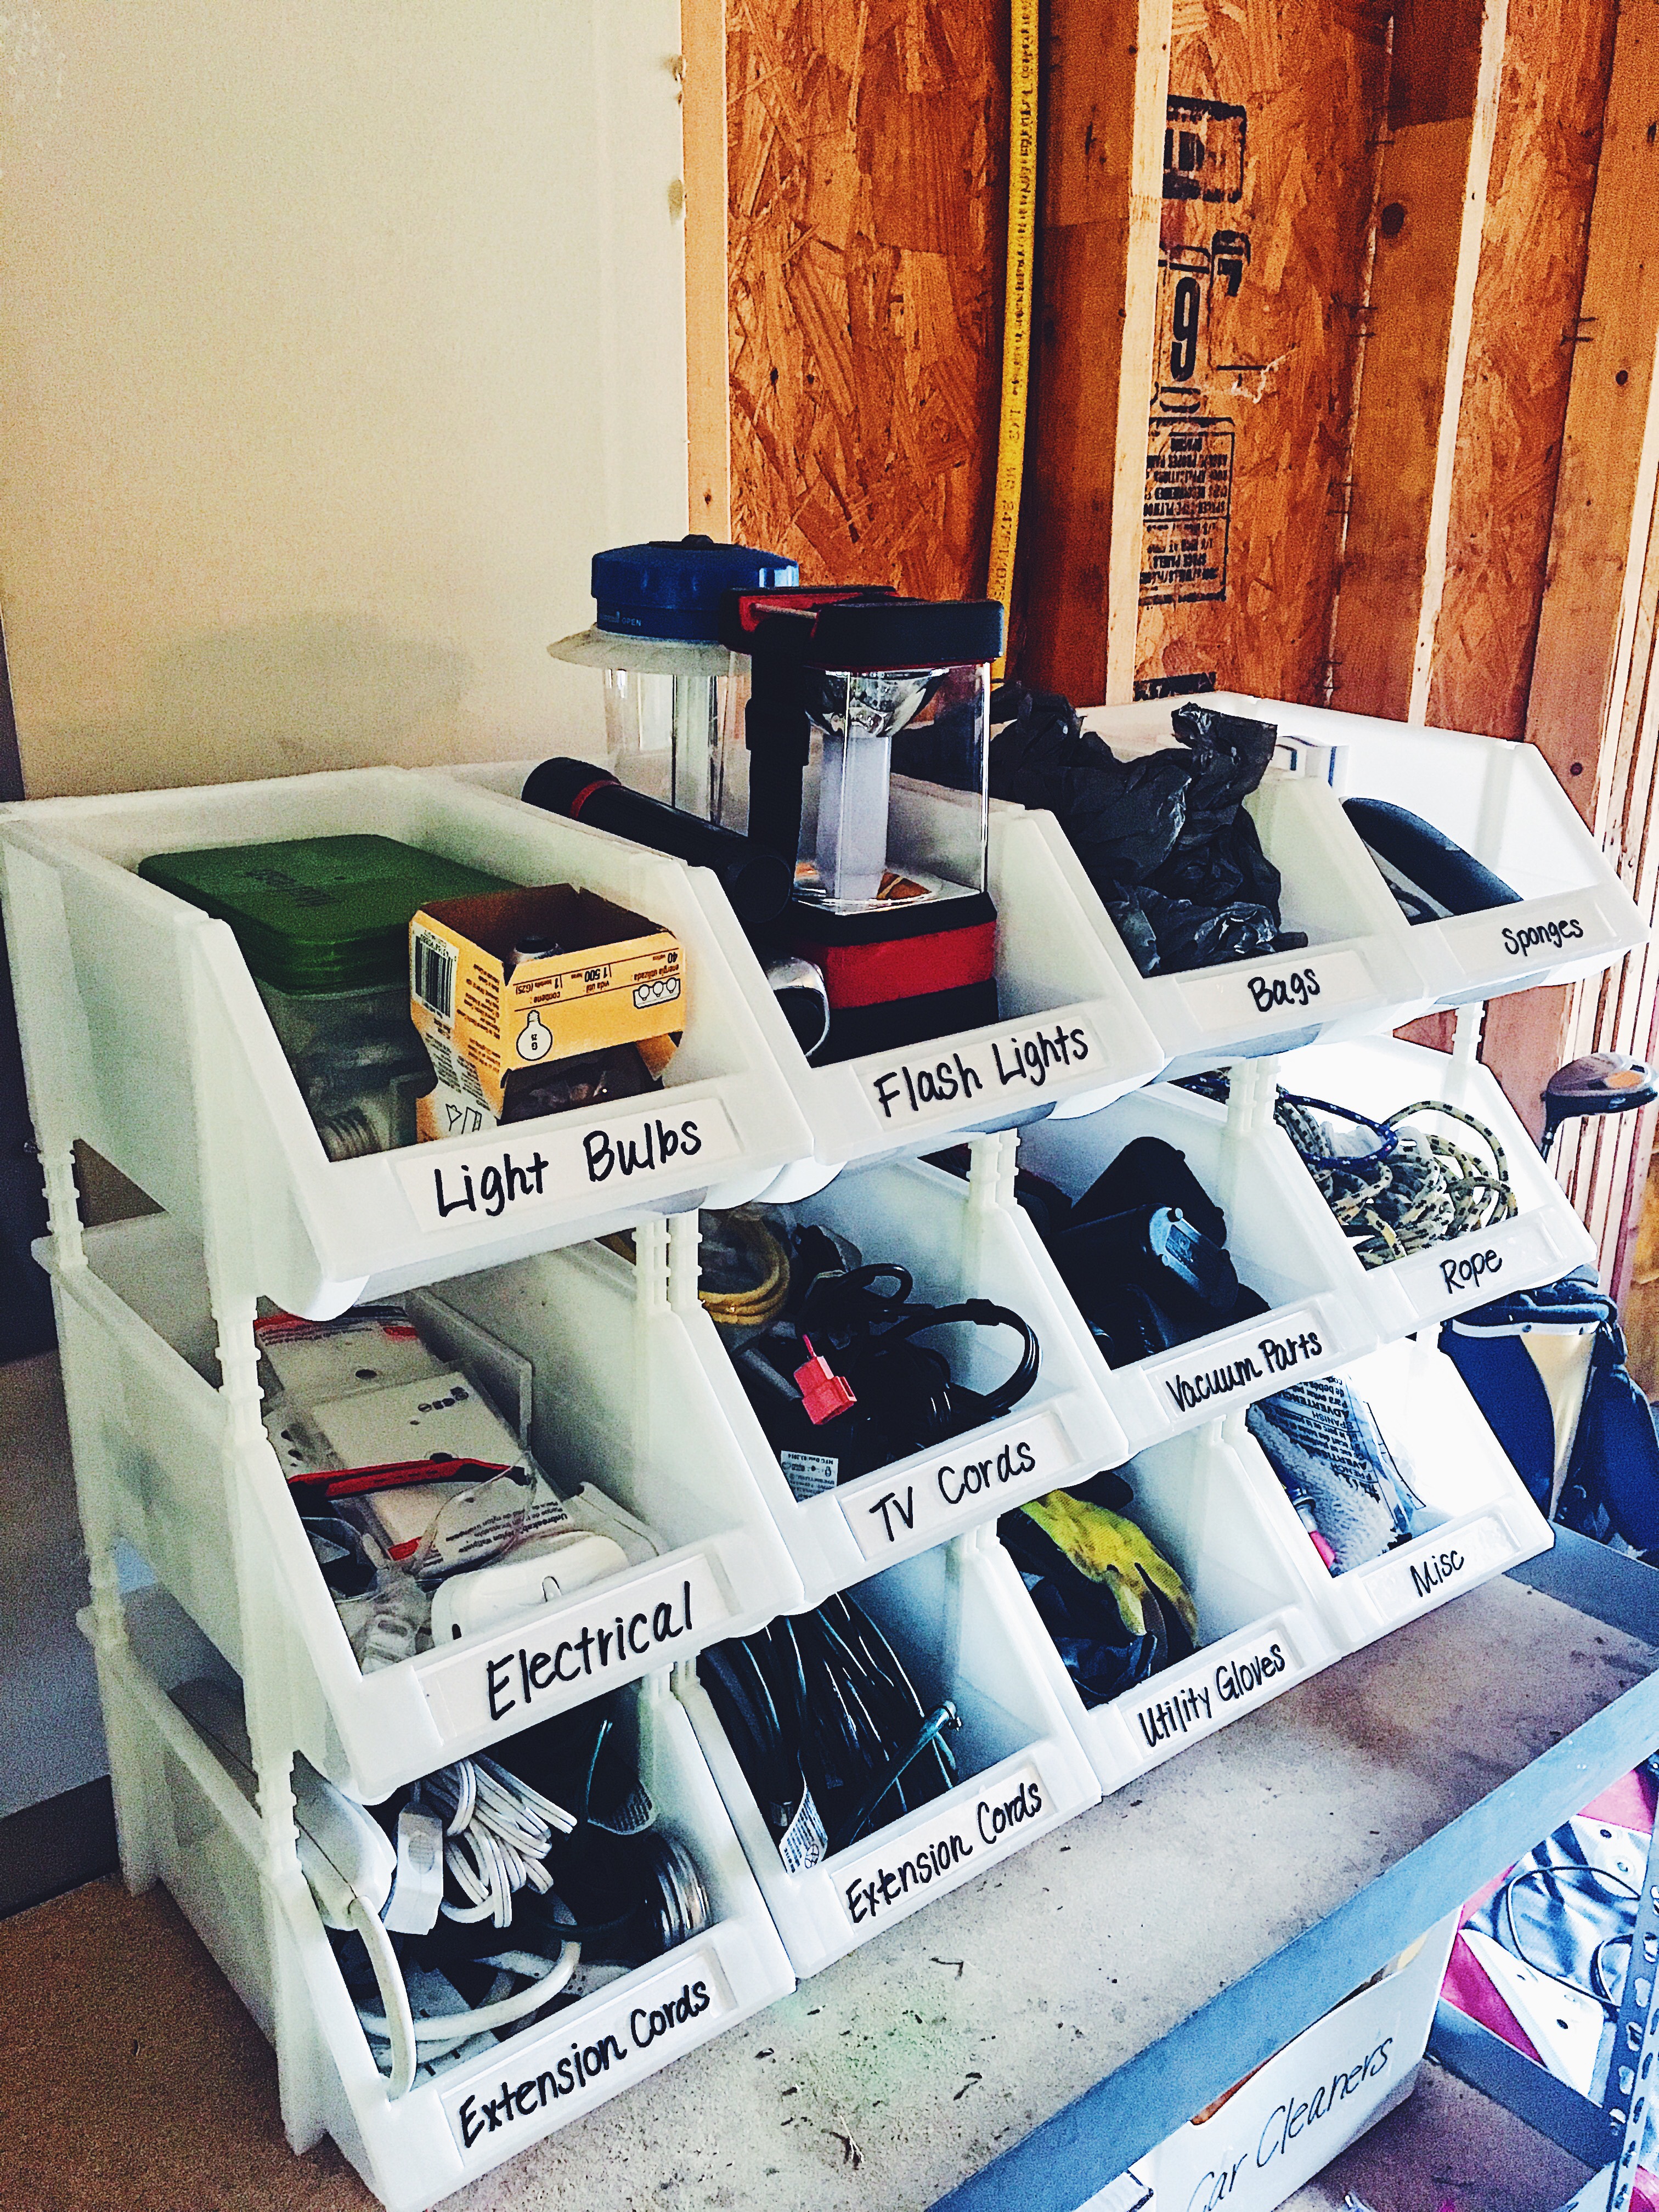
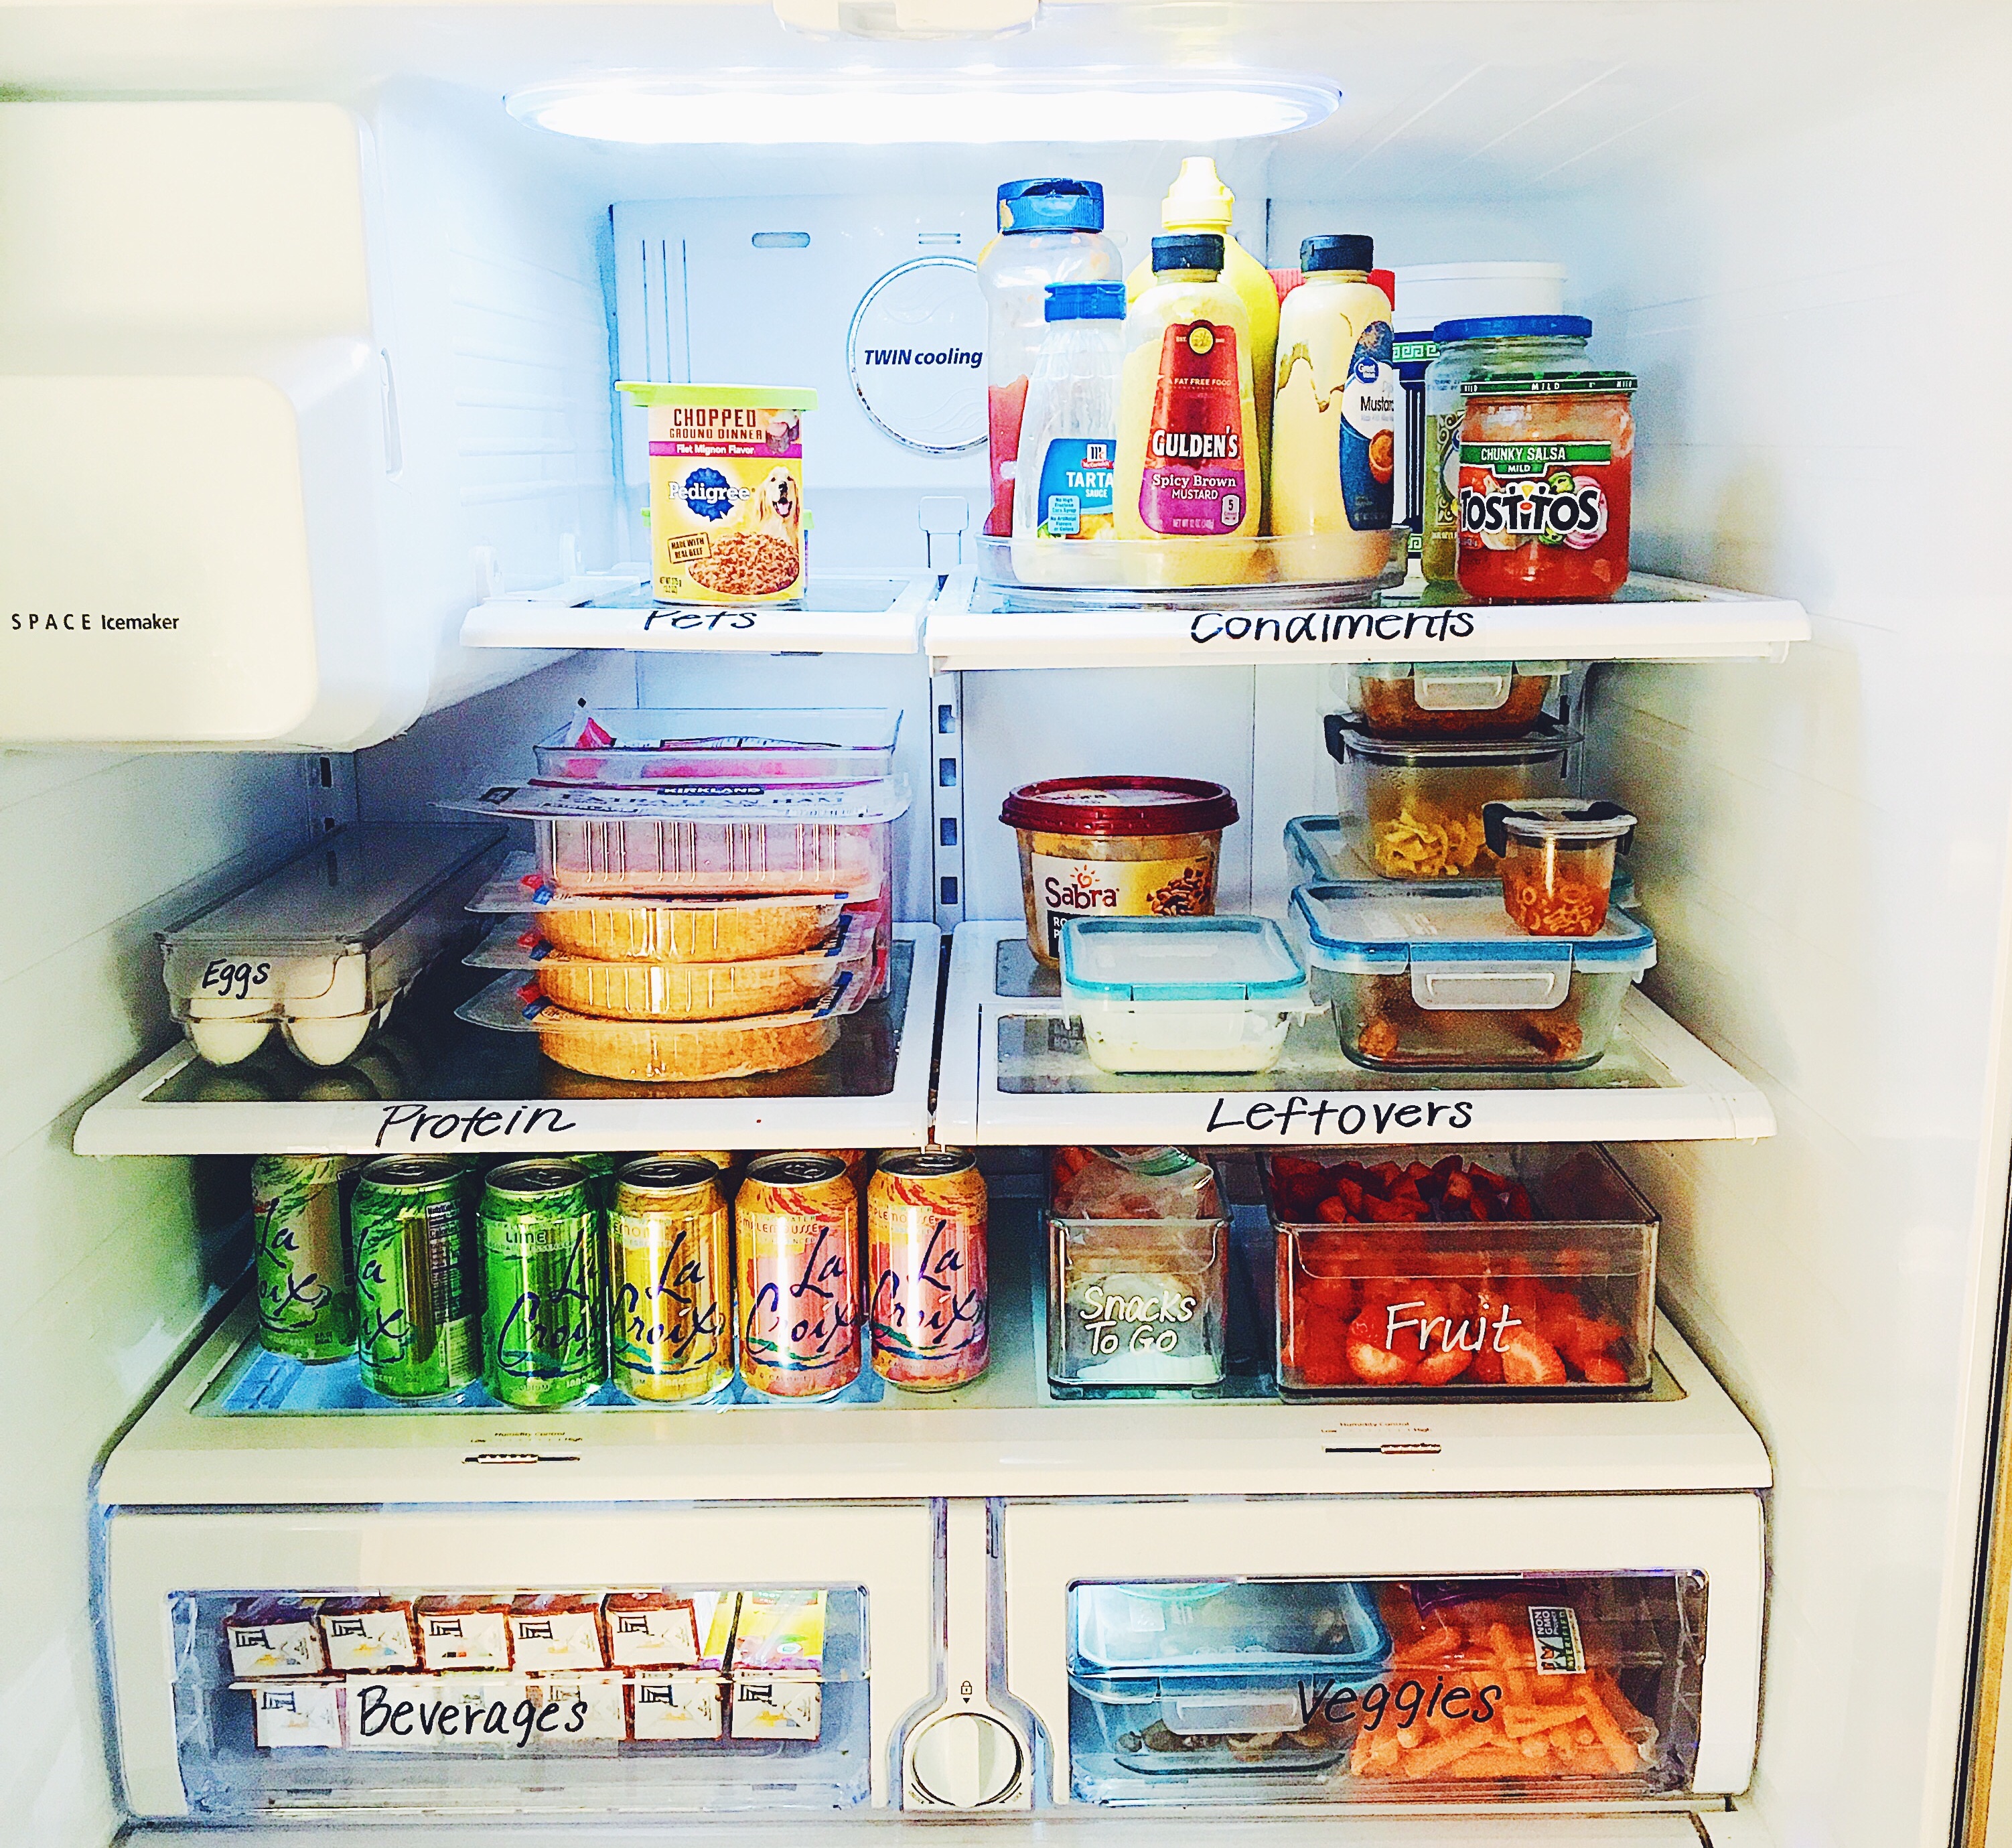
Labels help you find what you need immediately and make cleanup quicker. There are a variety of ways you can label however through trial and error, I’ve found the Sharpie oil-based paint marker works best.
Using this marker to label bins makes it clean and beautiful. The paint on the Sharpie marker is permanent and won’t fade away like other labels such as chalk.
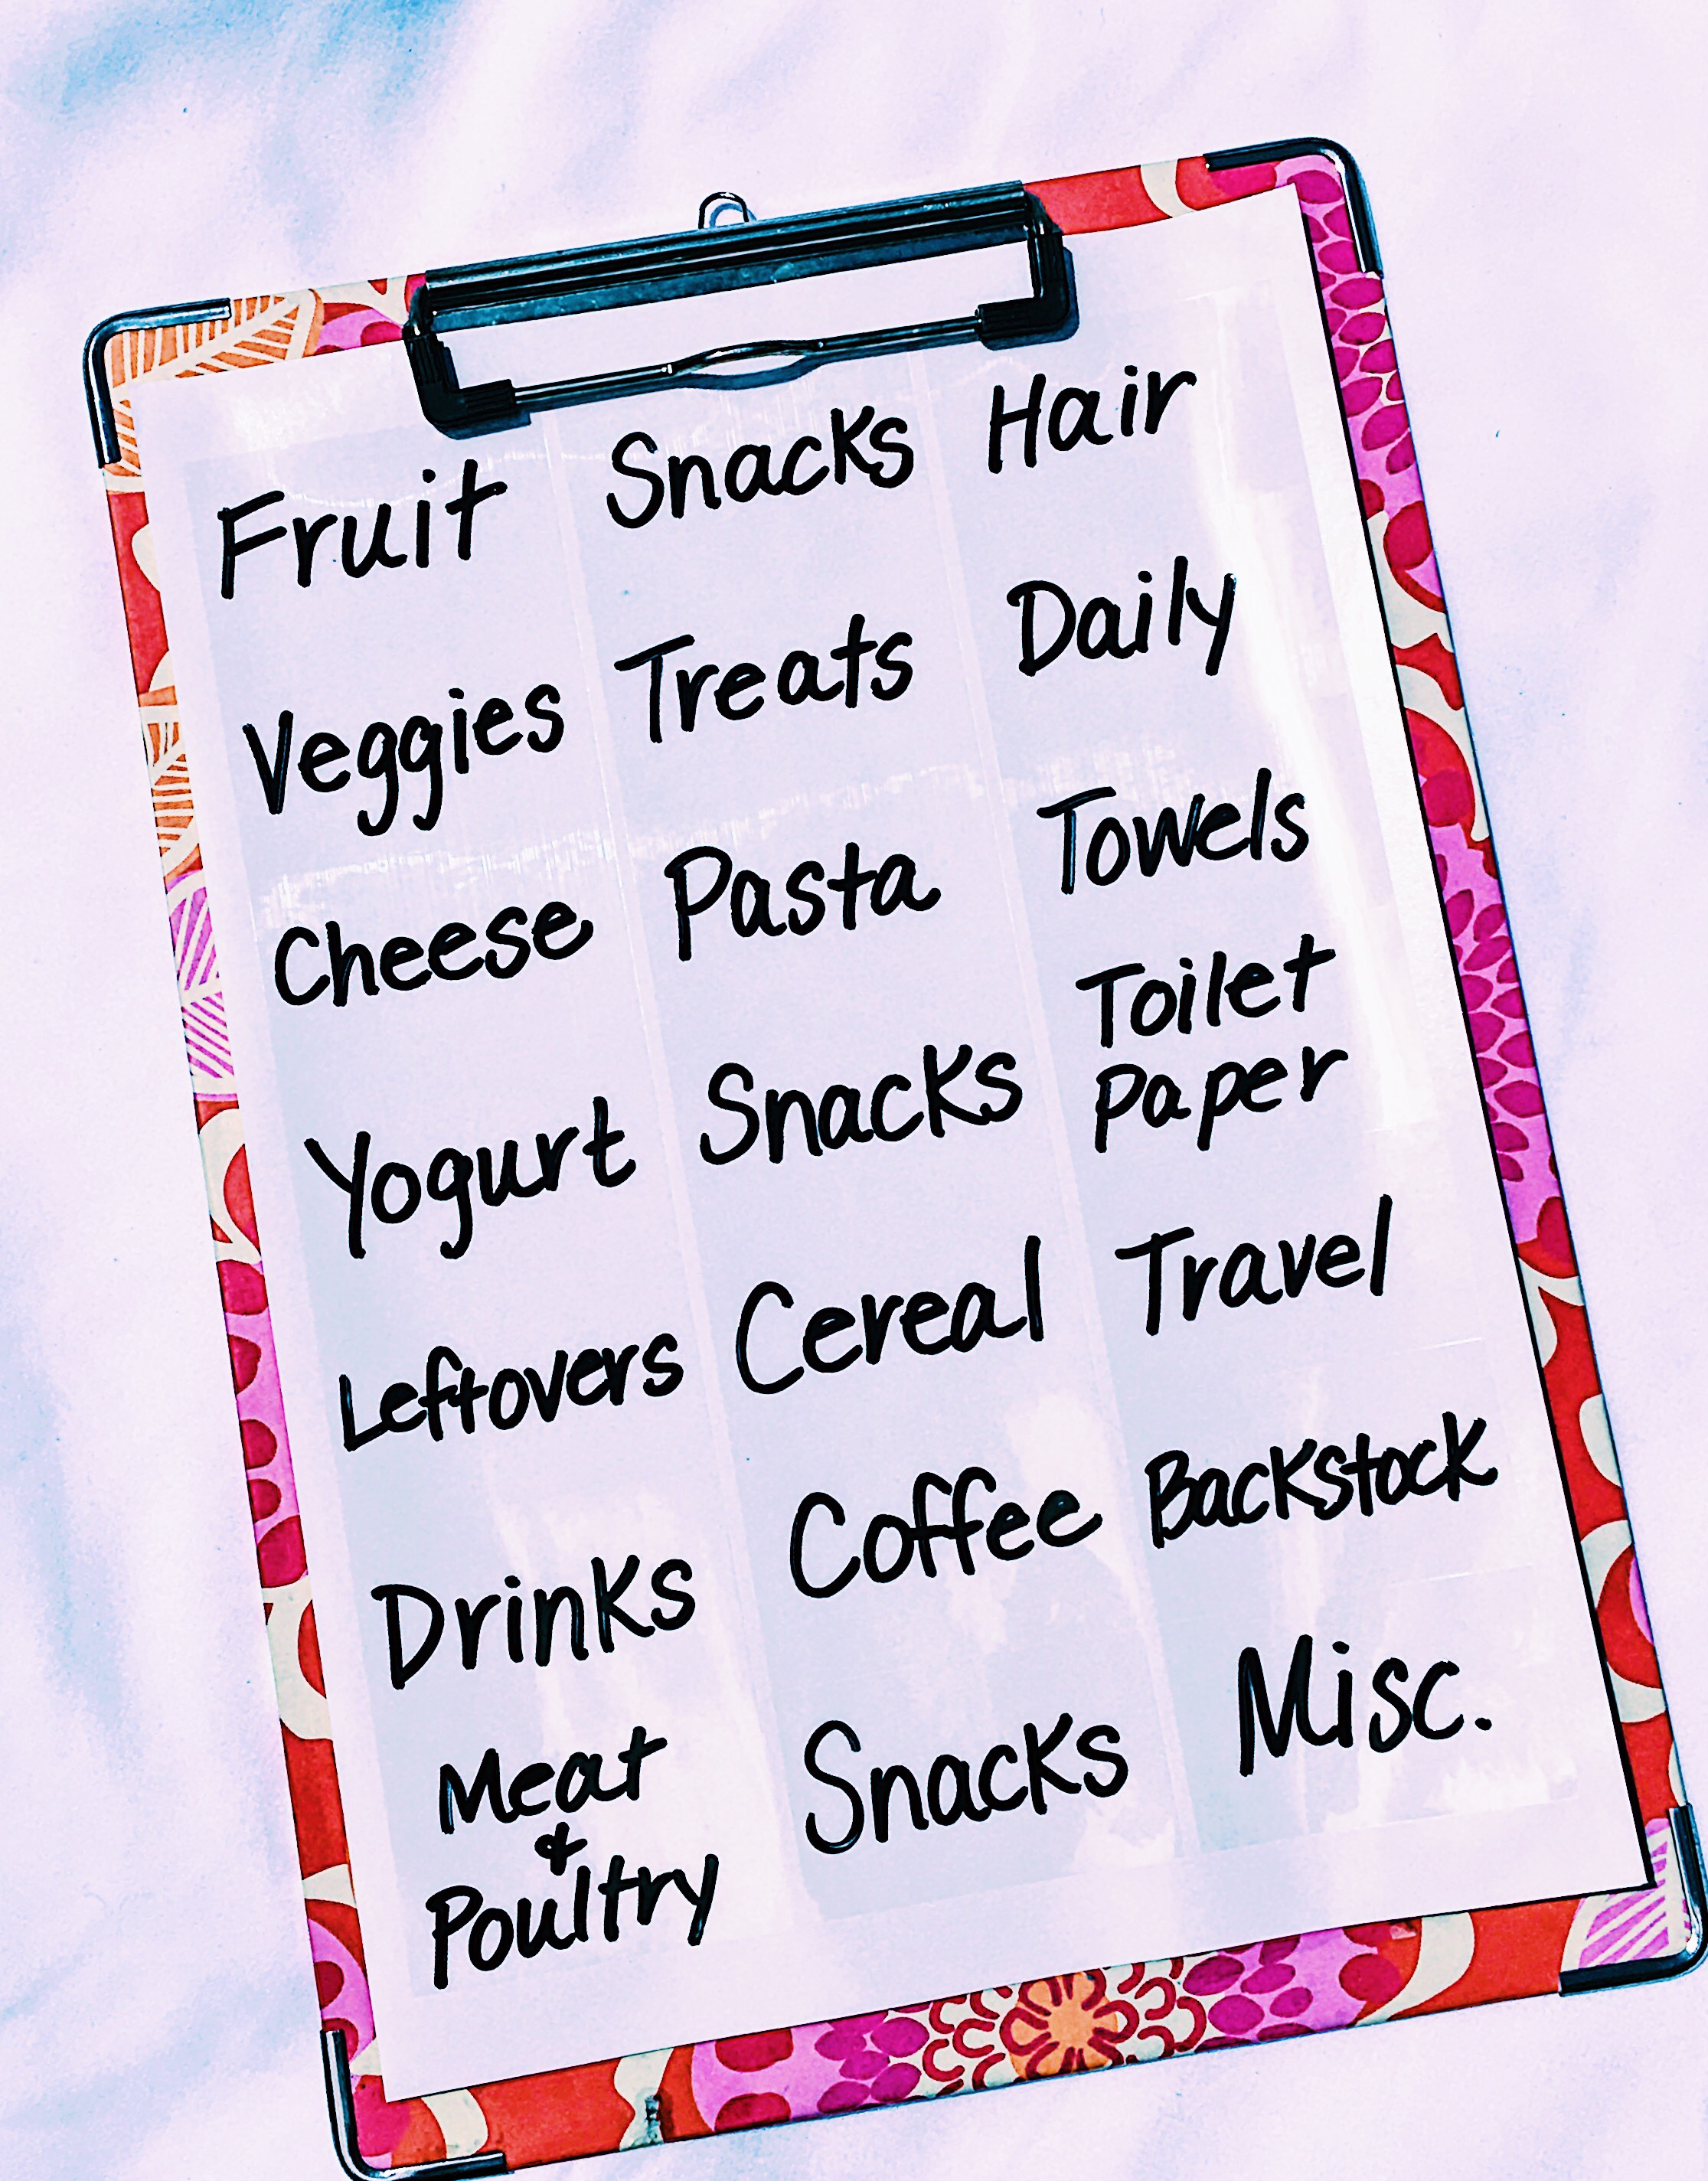
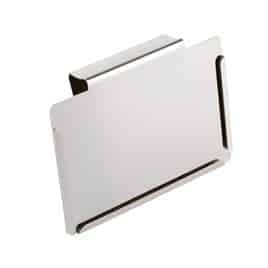
It’s very hard to remove the label paint with this marker if you write on the container directly. You have to use a magic eraser to remove the ink and scrub hard, really hard. These blank adhesive labels that work perfectly for the oil-based marker and eliminate the scrubbing, you can just change out the label.
This Sharpie oil-based marker has made organized spaces clean and beautiful. The adhesive label tape is strong, durable, and reusable. You can take off the label, reuse it, and it will still stick on strong. This is perfect for a playroom because they won’t always have the same toys in there.
Places you can use these DIY labels:
- Playroom on storage bins
- Holiday Storage bins
- Spice containers
- Baking containers
The white marker works best on for clear bins. It’s clean and easy to see. If the bin is white, use a color that will match the space. For example, gold or black.
These DIY labels can organize almost any space. Be sure to let the ink dry on the label or storage bin because it will bleed.
+ show Comments
- Hide Comments
add a comment