Closet organization has many benefits. You’re unstoppable when you are wearing something that makes you feel good. Think about your very first job interview, you dressed nice because it mattered and it also gave you confidence. Wearing clothes that make us feel good matters because it affects our mood. Squeezing into clothes where we can barely breathe is just ridiculous, I say that because I’ve done it.
Having clothes in your closet that you love ends the dreaded misery of “I have nothing to wear”. It’s hard to say that when you only keep clothes that you love and make you feel good.
I’m off my soapbox, now onto this walk-in closet organization project.
Affiliate Disclosure:
We want to be transparent and inform our users that some of the links on this website are affiliate links. This means that if you make a purchase through these links, we may earn a commission, at no additional cost to you. We only recommend products or services that we believe will add value to our readers. Your support through these affiliate links helps us maintain and improve our content. Thank you for your support!
WALK-IN CLOSET BEFORE
This closet had a lot of great space available to use. She was frustrated with the shelving and making it functional. One of the biggest challenges was getting the leggings off the shelf to make them accessible. I’m tall (5’10” to be exact), many of our clients are shorter than myself which is something that I have to keep in mind when organizing. These shelves were tall even for myself.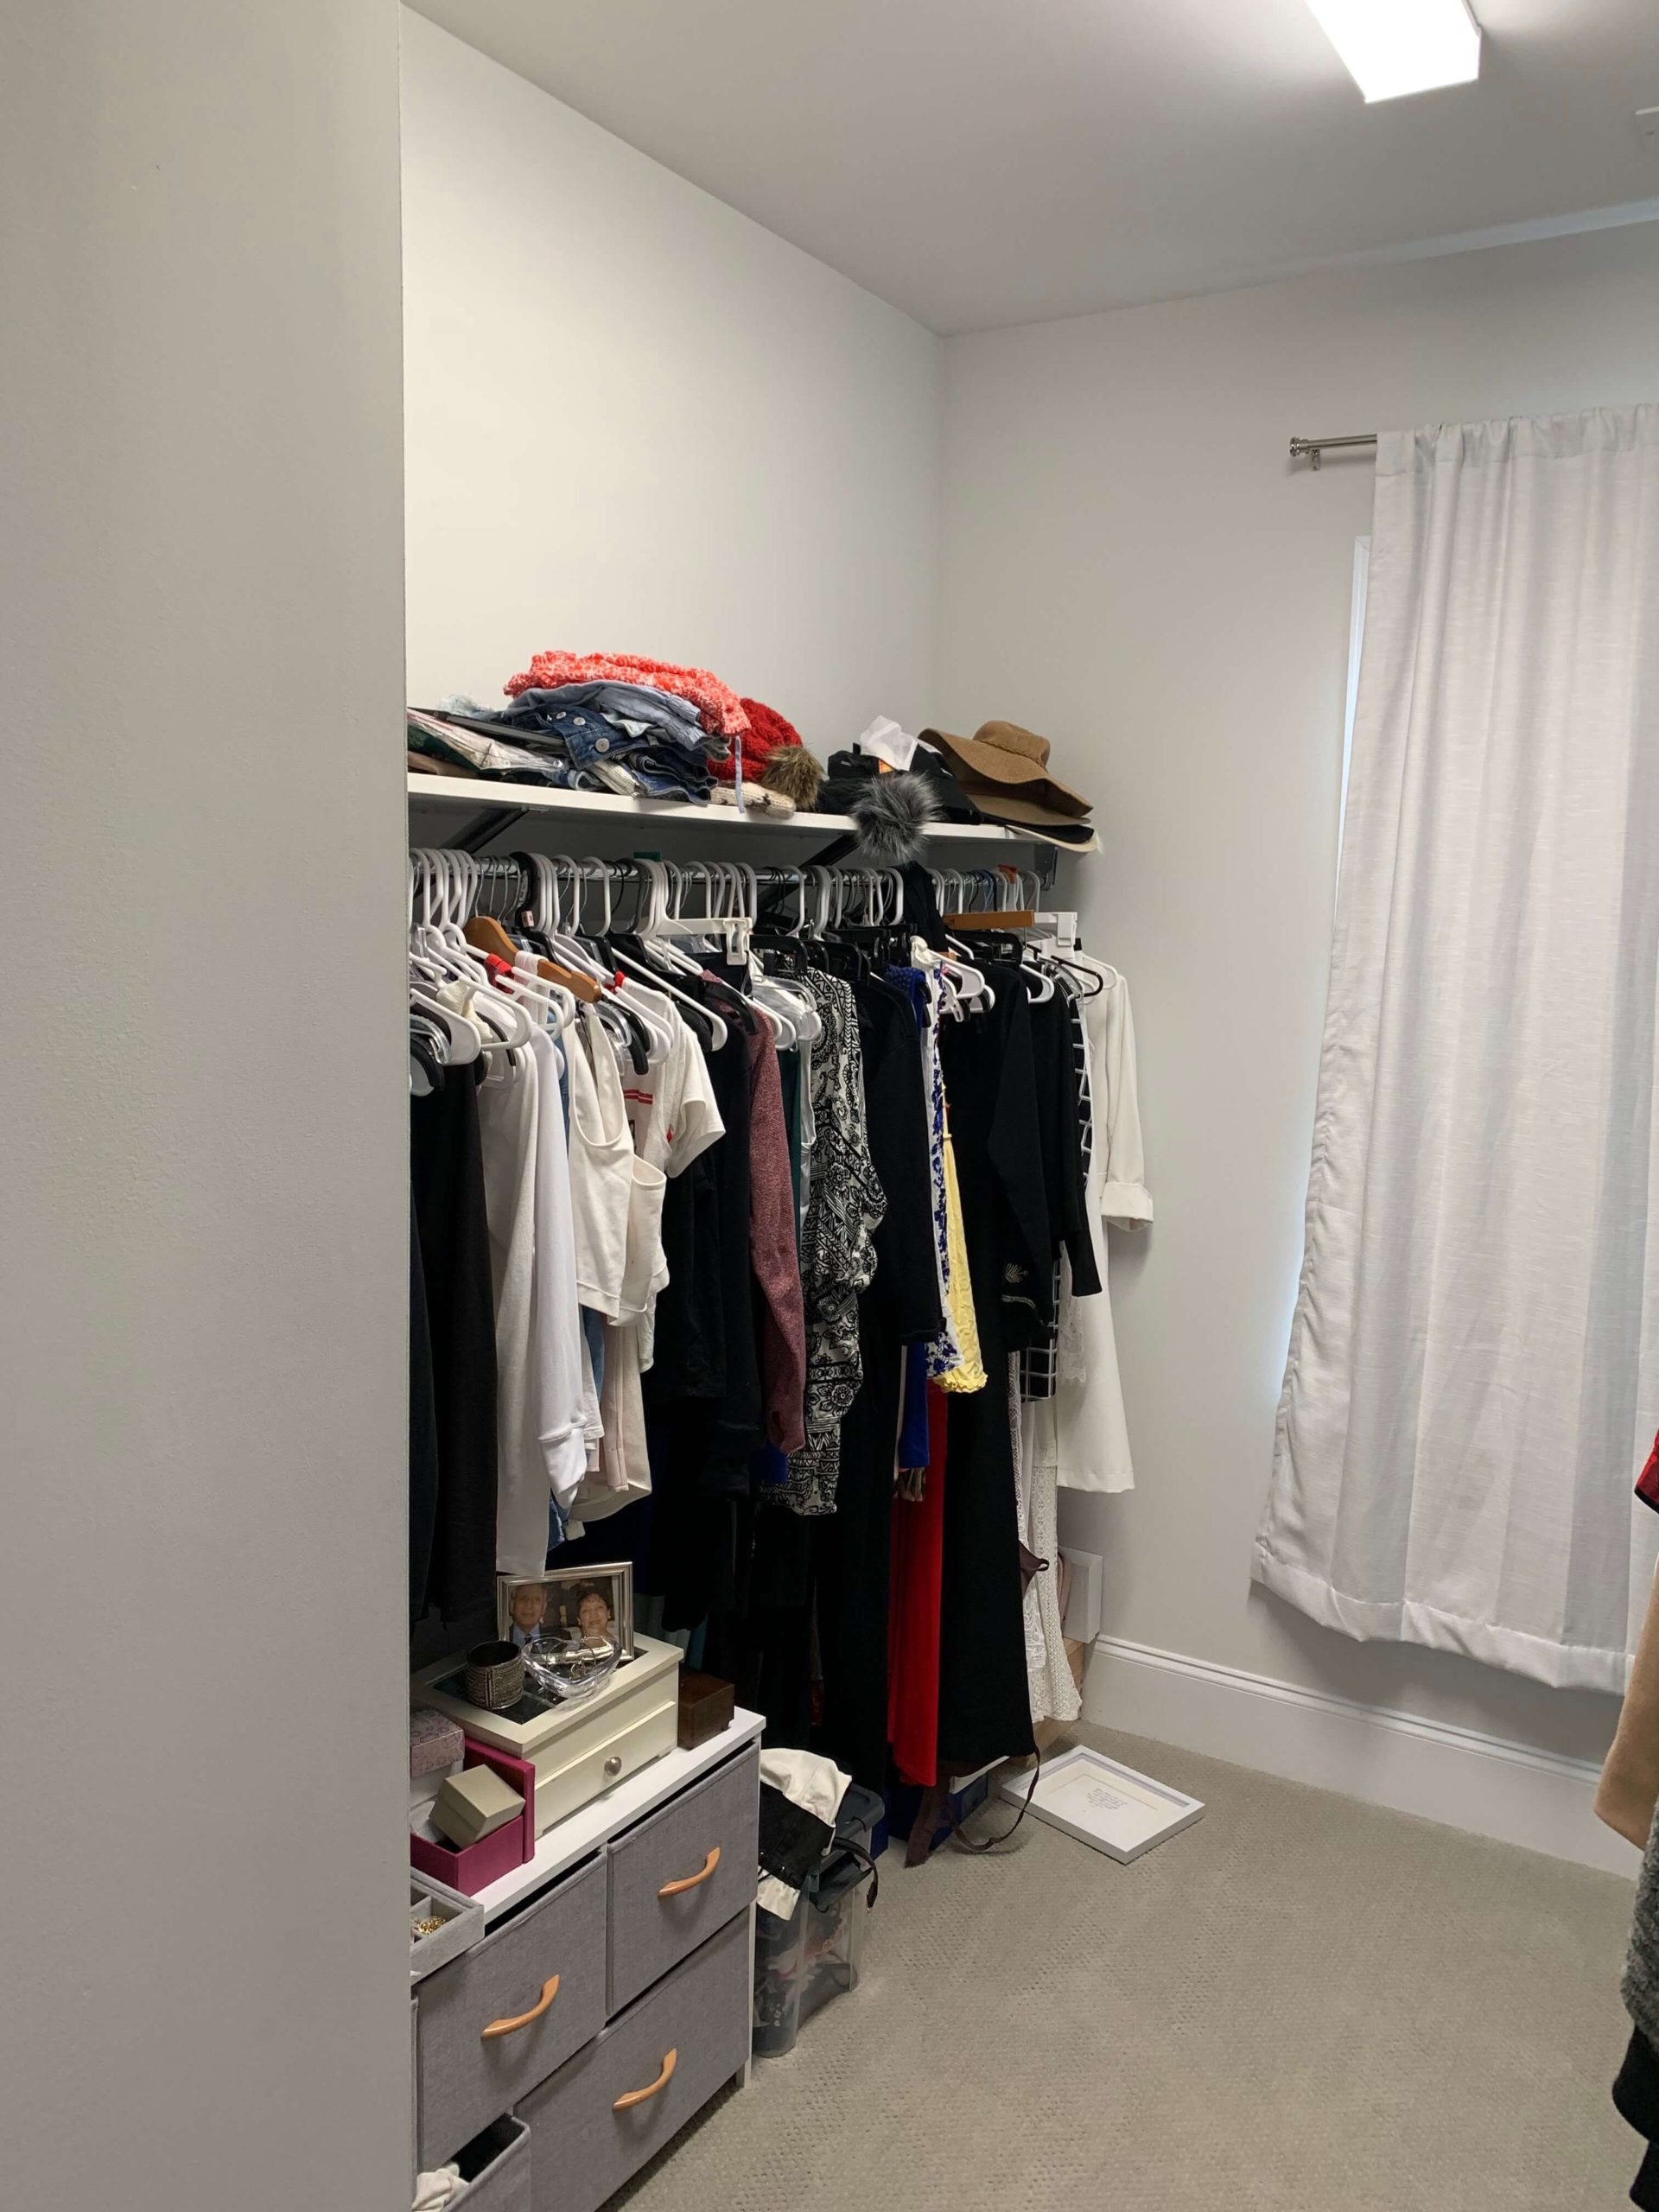
The other challenge was the shoes. They were scattered on the ground making it hard to see what was there. She wears casual shoes often but wanted to be able to see all of her other shoes.
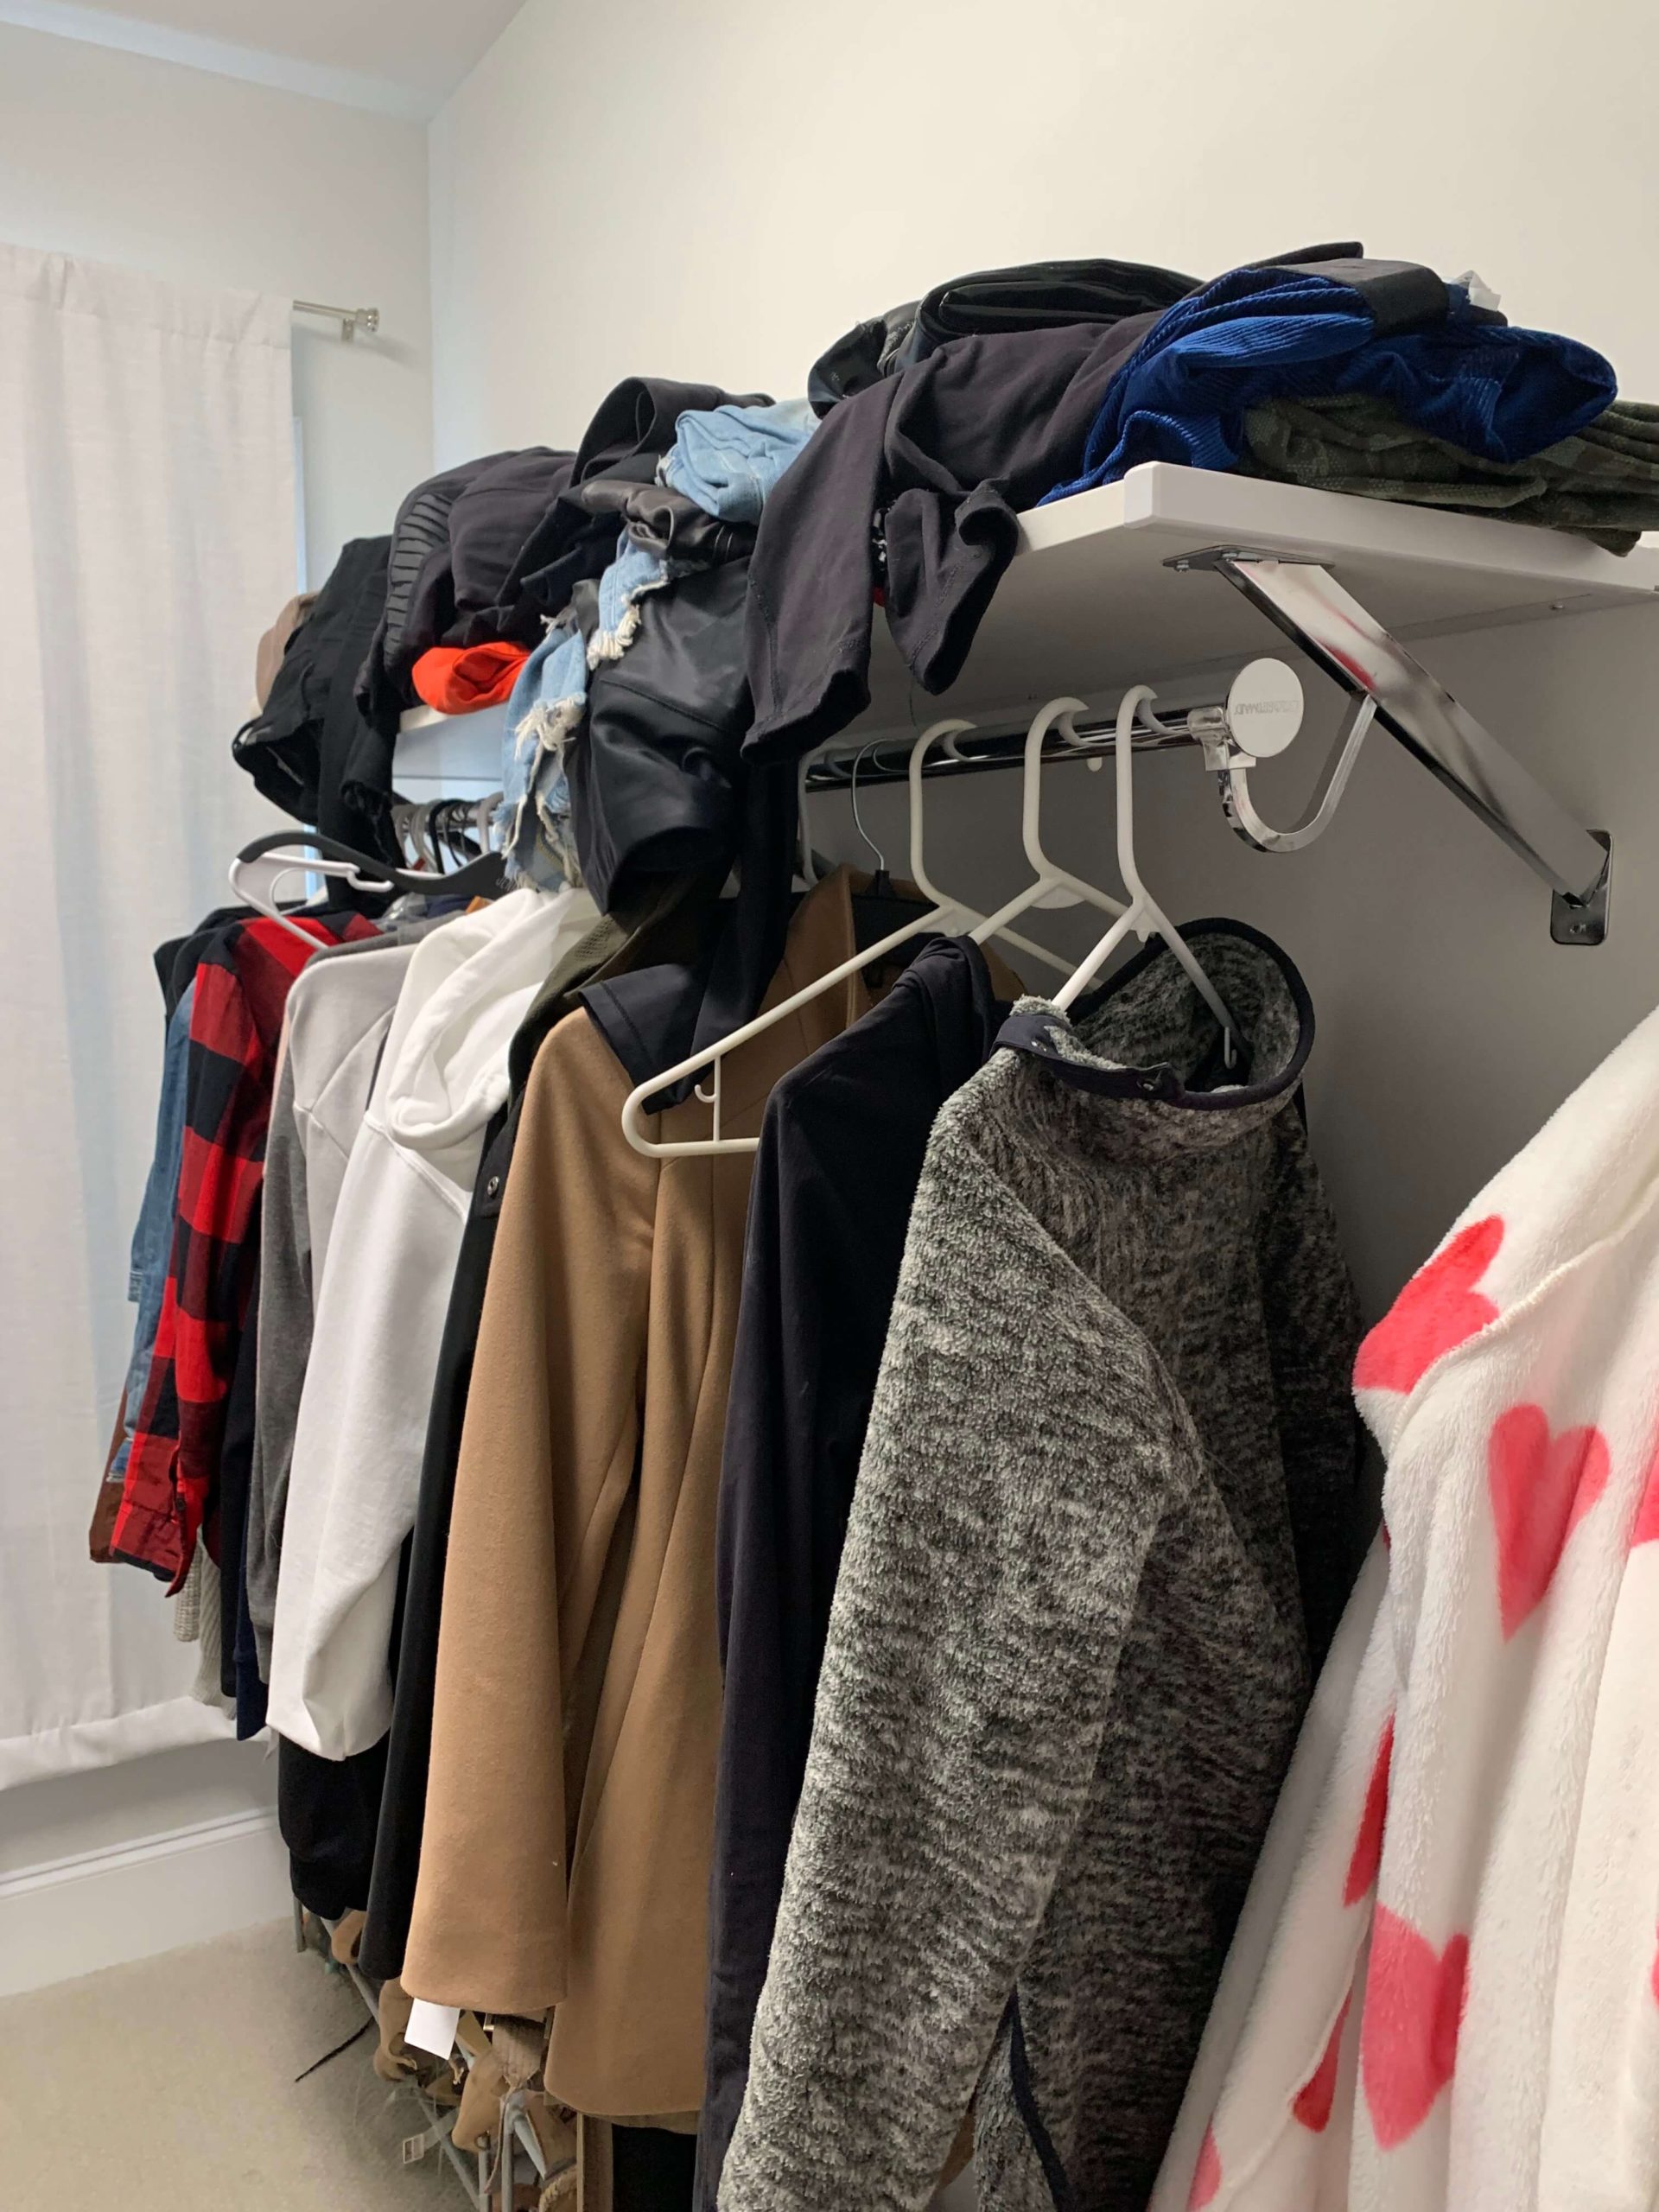
This walk-in closet did not have a flow. We needed to add some products to make things functional, beautiful and something that she would fall in love with every time she walked into her closet. Your closet should make you feel like you walked into your favorite department store. That’s exactly what we were going to do.
GAME PLAN
- Utilize the shelves and maximize space by using stackable shoe bins.
- Add dresser drawers for daily items and remove the organizer that was there.
- Change out all the hangers to matching velvet hangers.
- Add shelf dividers to the opposite shelf and put the clothes that weren’t worn as frequently there.
- Use handbag hangers to hang purses.
- Move all short hang items to one side and the long hang to the other side.
- Add hooks to the wall to hang hats and robes.
- Label the shelves and drawer units.
OPTIMIZE SHELF SPACE WITH STACKABLE SHOE BINS
There was quite a bit of empty space on both shelves. When going into this walk-in closet the left side has a cutout. Once I found out she didn’t wear her shoes often but wanted to see them, I knew this was where they needed to go.
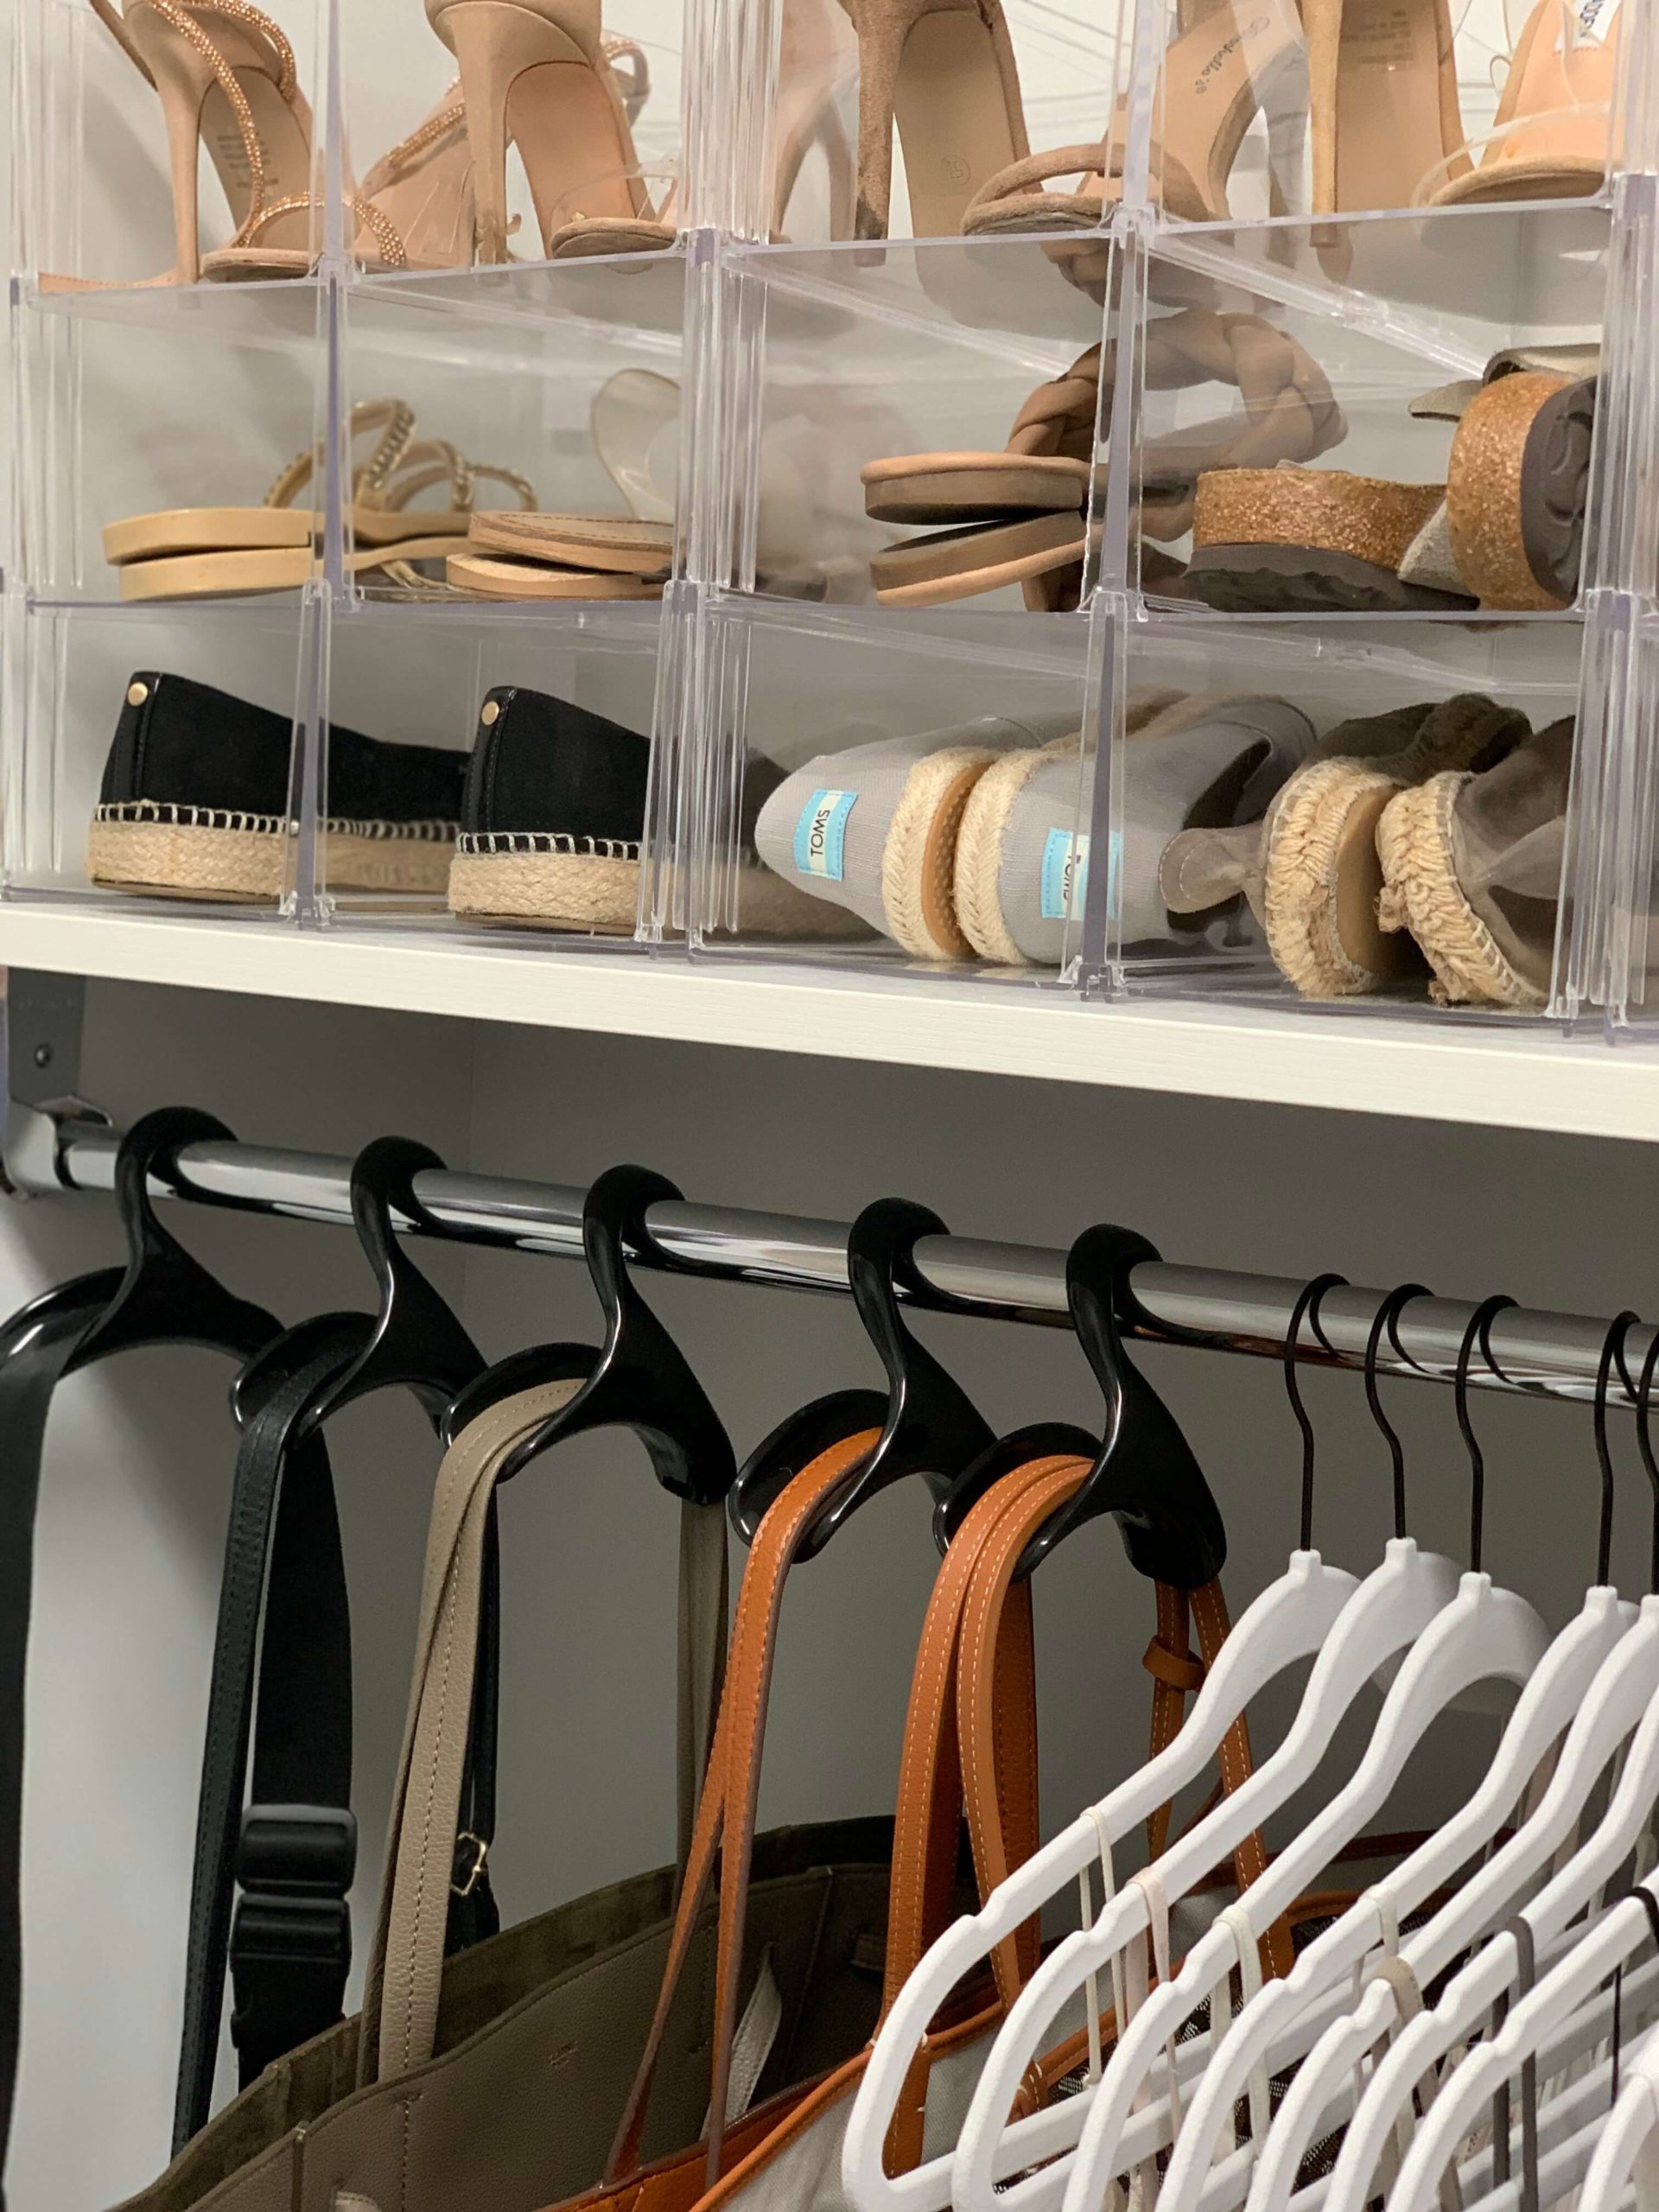
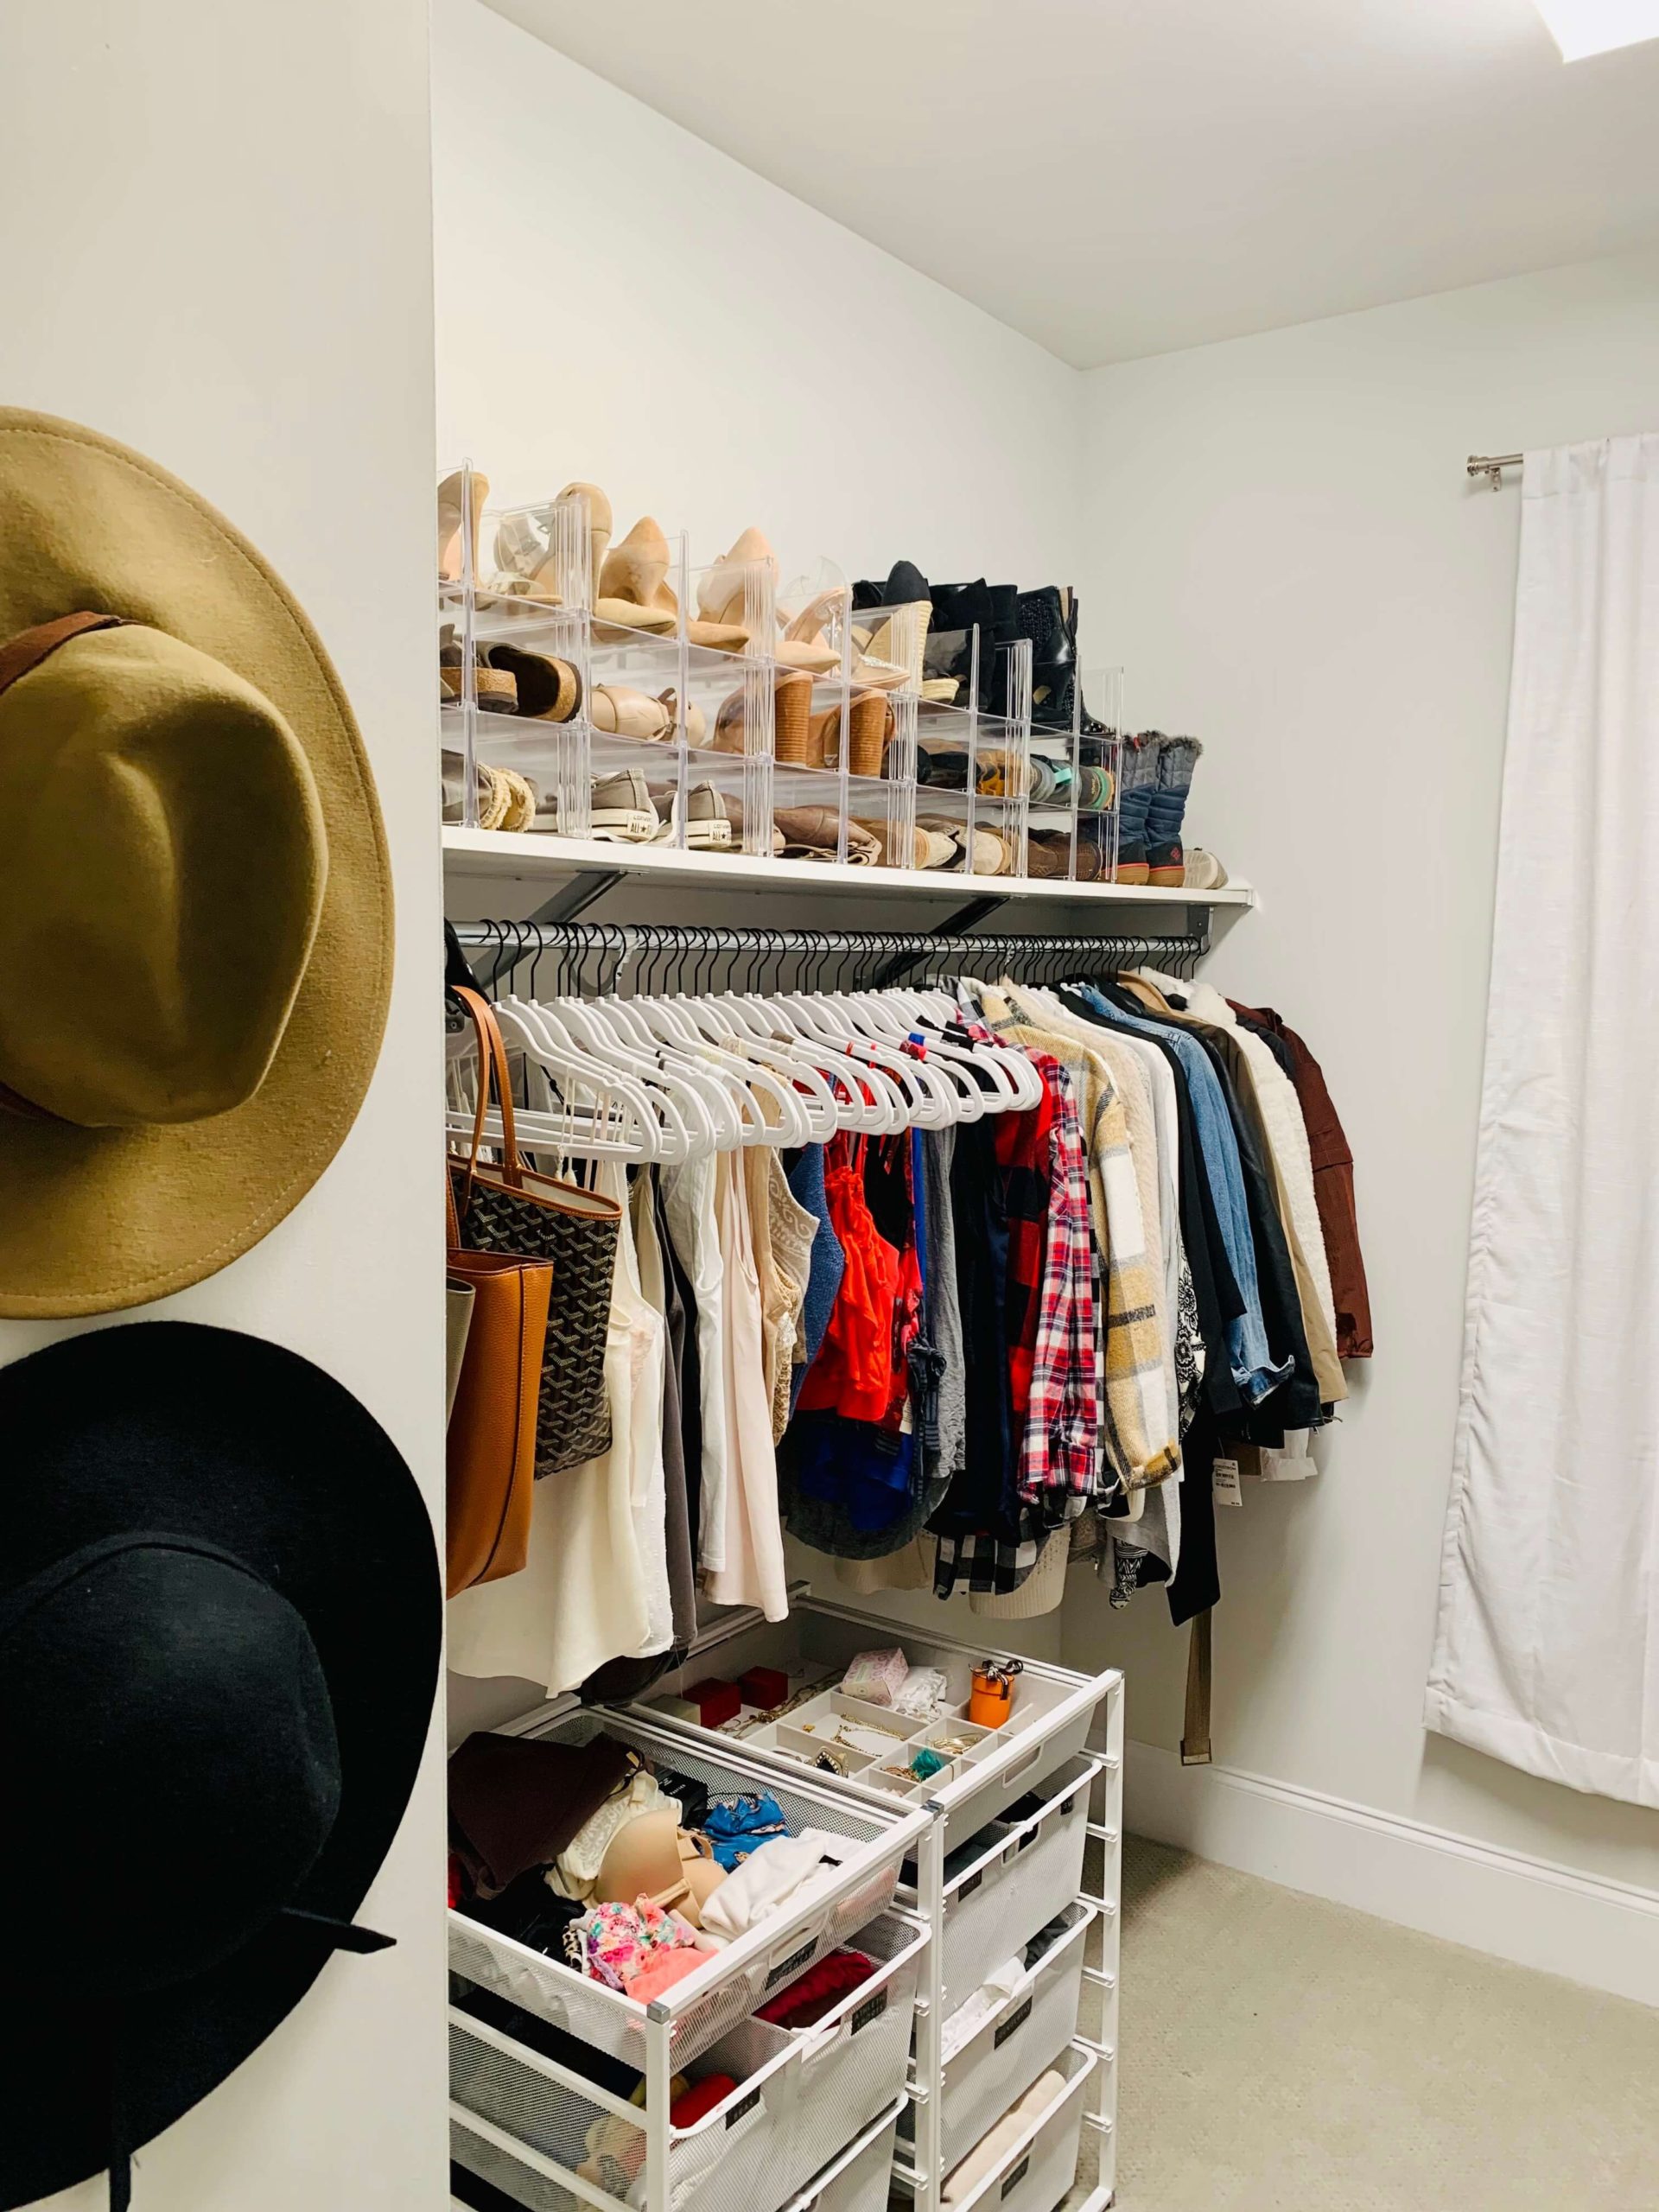
These stackable shoe bins were perfect for this space. We were able to get them all off the floor and now she can see them all in front of her.
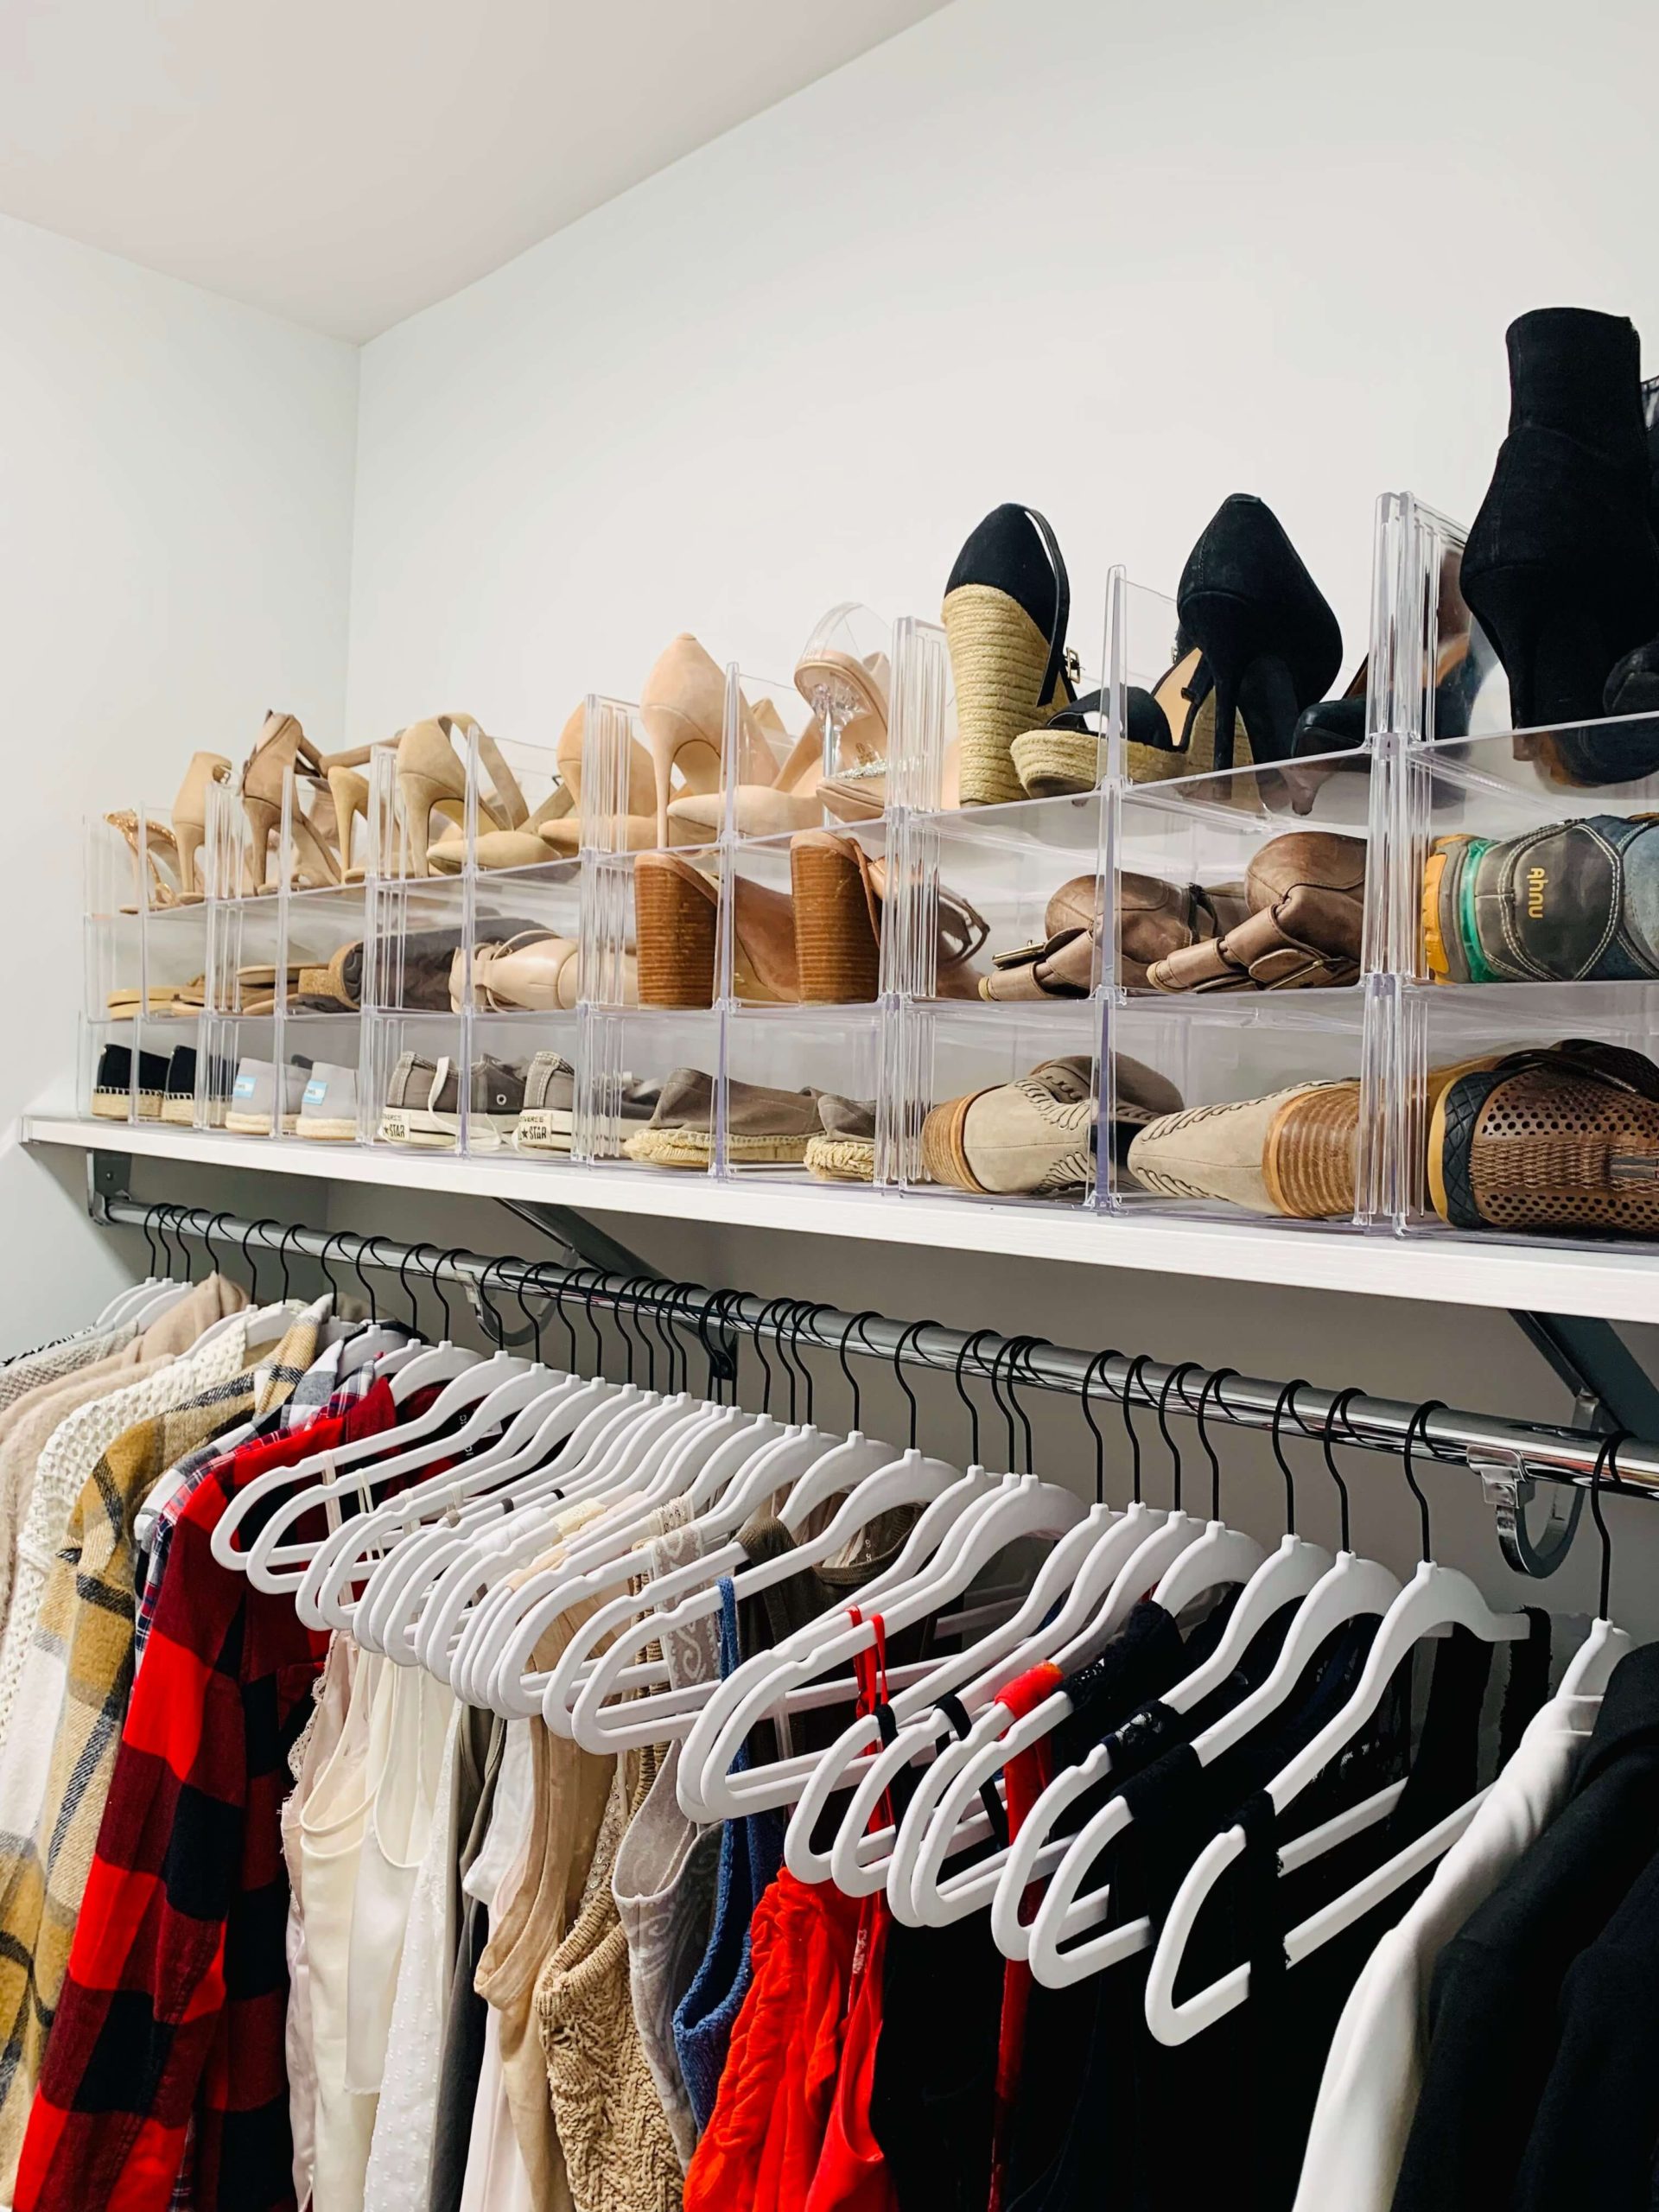
I prefer these stackable shoe bins over any other type because of their functionality, it’s easy to get what you want and put them away effortlessly. There are no additional steps for taking a bin down or removing a lid.
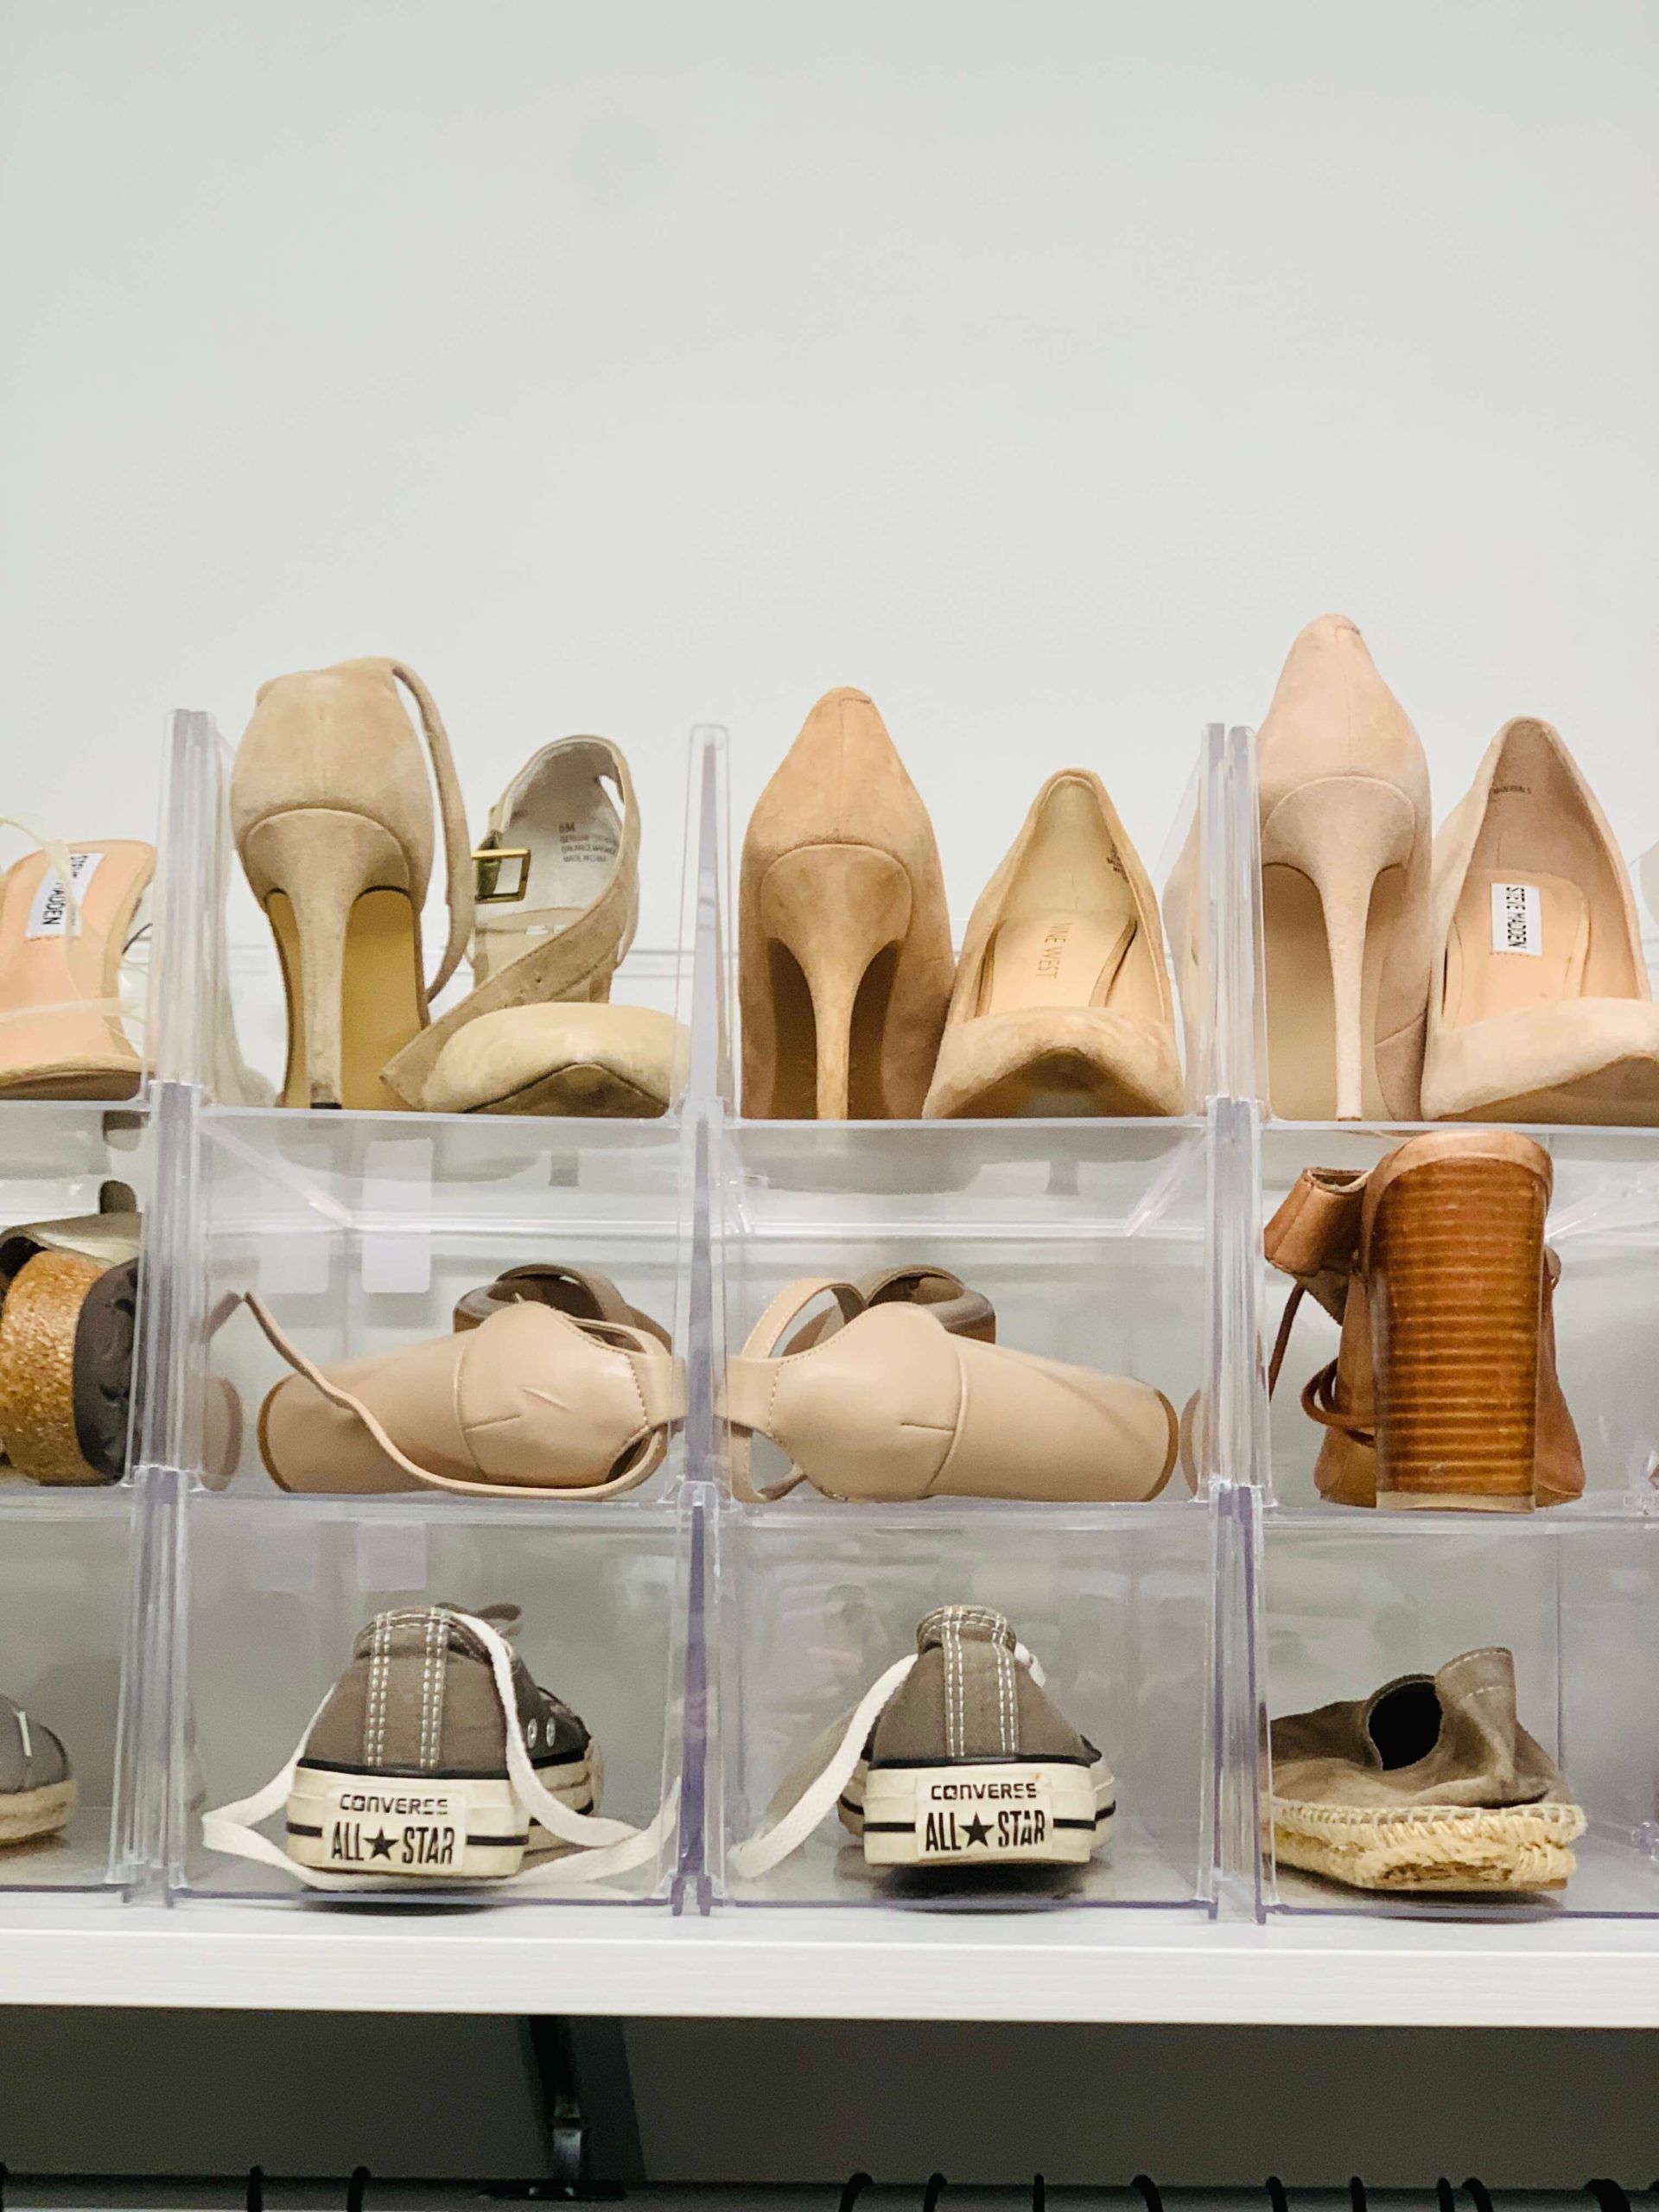
These shoe bins come in two different sizes. The standard size is what was used for this project, the tall size works well for pumps. Since the pumps were being stored in the top room, we didn’t need to use the tall bins.
There’s a $7 difference between the two bins, I will always try to make a product work before having to upgrade it.
In this case, it worked. There were a few shoes that needed to be turned to the side to fit. I’m also one who considers how it looks, adding a few tall bins to this section would’ve been awkward leaving the space feeling unbalanced.
ADD NEW DRAWER UNITS THAT ARE BIGGER
We removed the dresser unit that was in there and added the Elfa drawer unit. The Elfa drawer unit has many perks compared to the one that was there. One is the size of the drawers. They were overall bigger and could hold more.
Two, they were mesh allowing her to get a glimpse of what is in there versus nothing at all. Last, the top drawer has the option to be open making it easy to get items rather than opening and closing a drawer.
The leggings moved to one of these units making them accessible. Workout gear, loungewear, shorts, and sweaters joined the drawers.
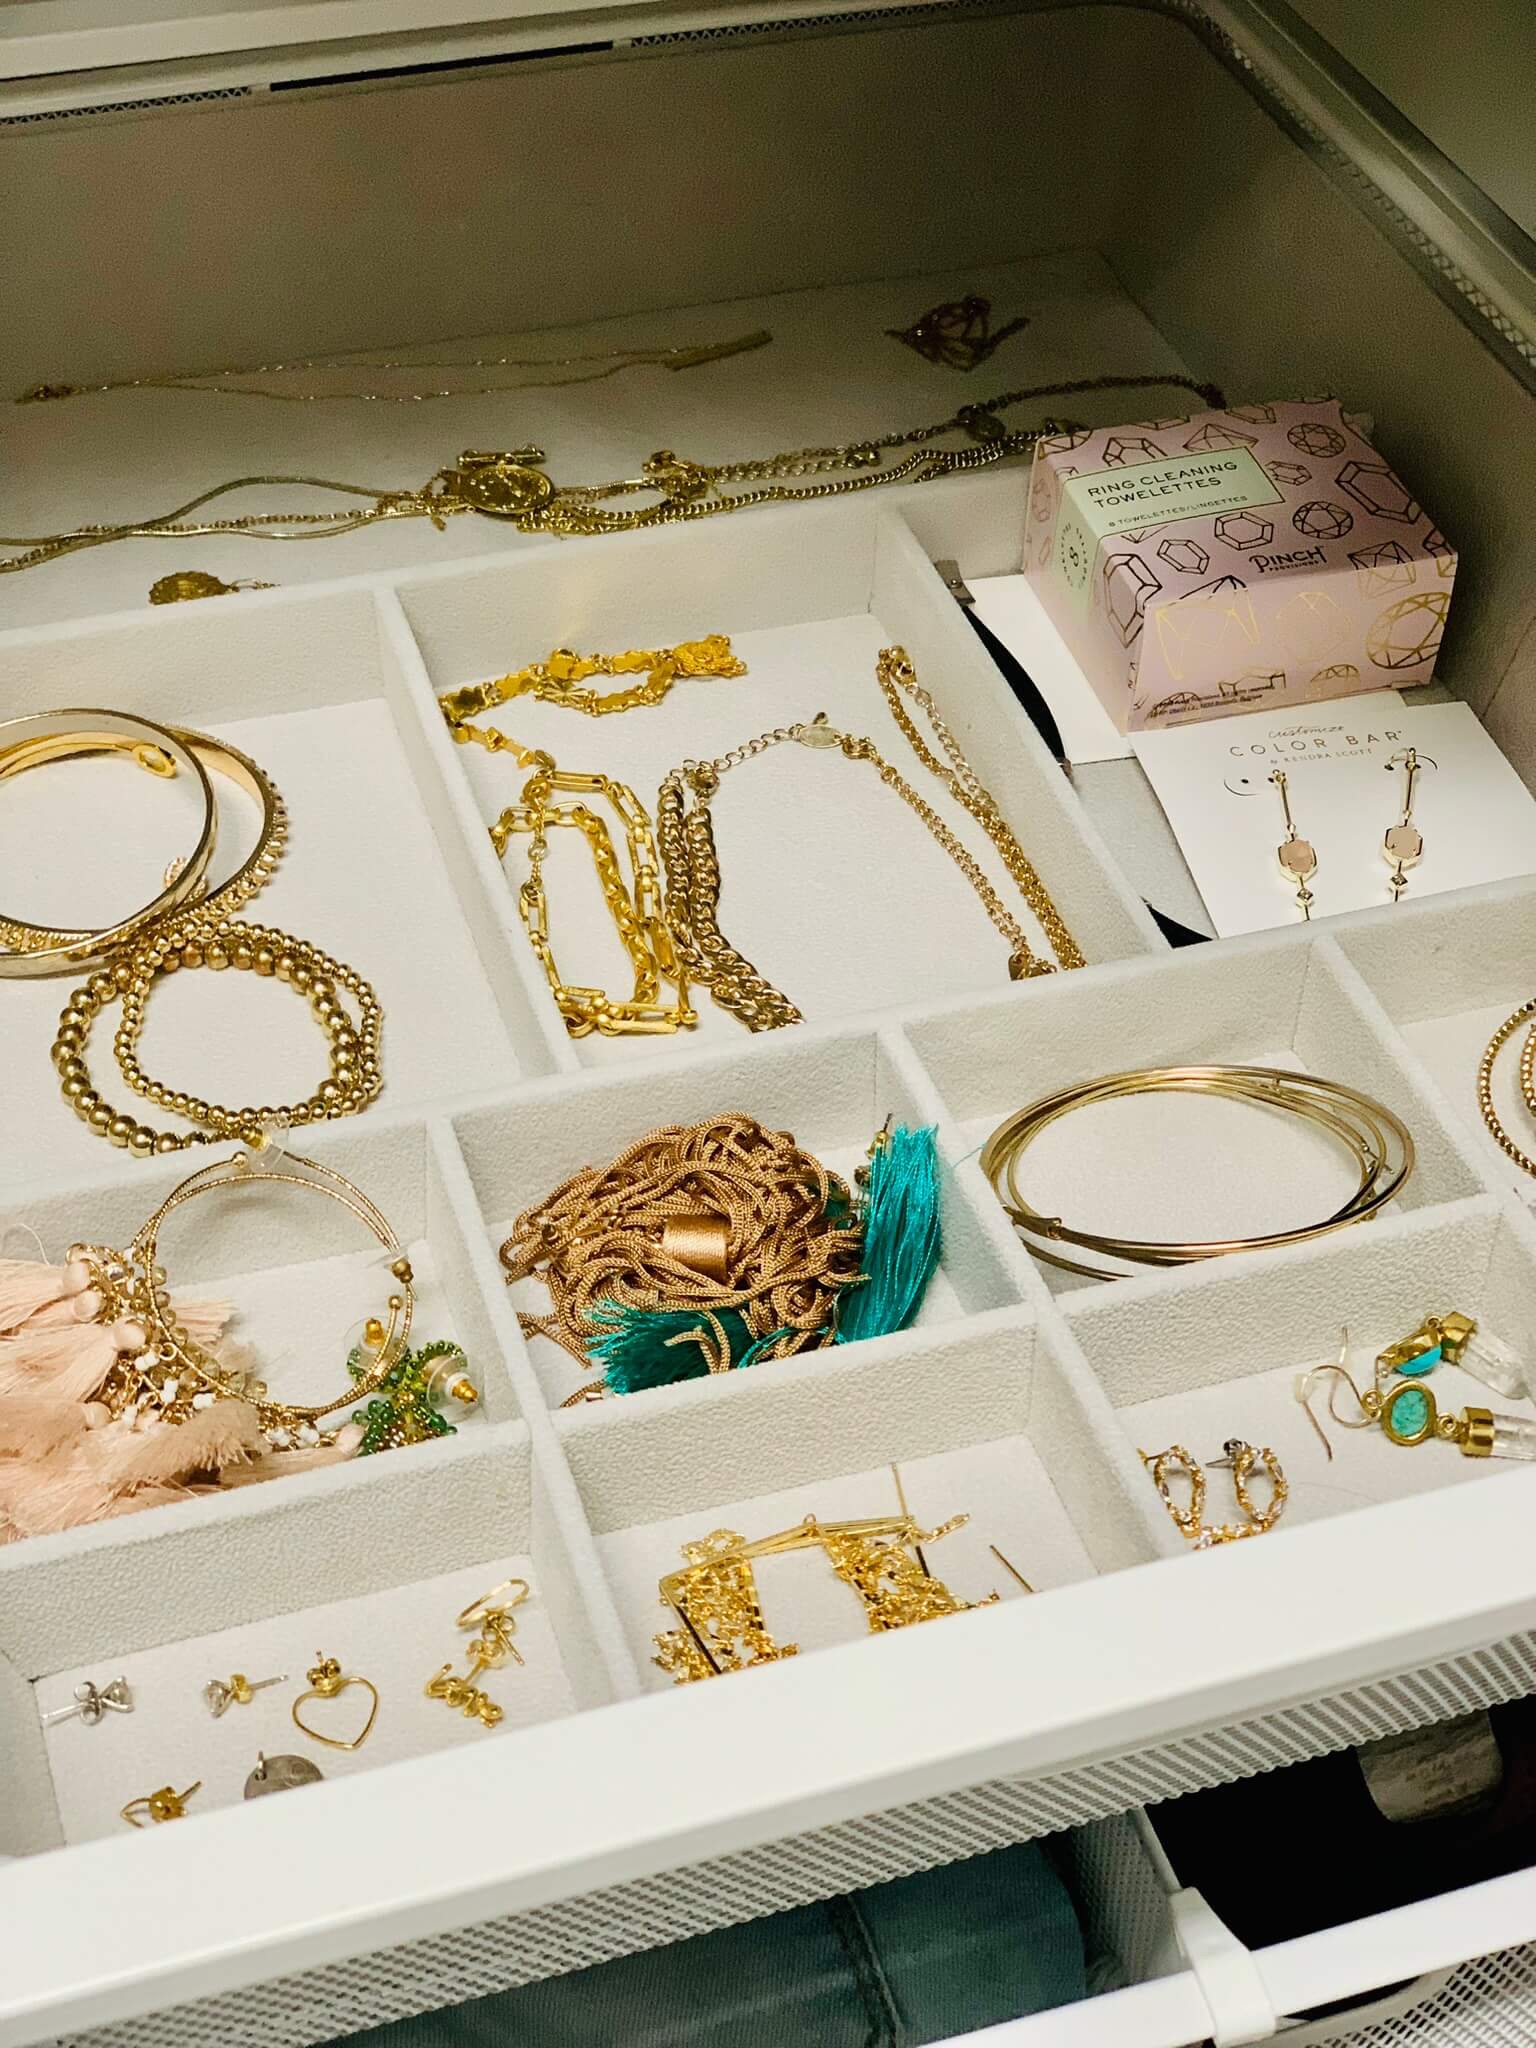
Intimates and jewelry were at the top of each drawer unit. As mentioned, we left off the top of the unit, giving her a visual of what’s there without having to open the drawer every single time. The jewelry organizer was added to keep individual pieces in order and easy to access.
CHANGE ALL HANGERS TO MATCHING VELVET HANGERS
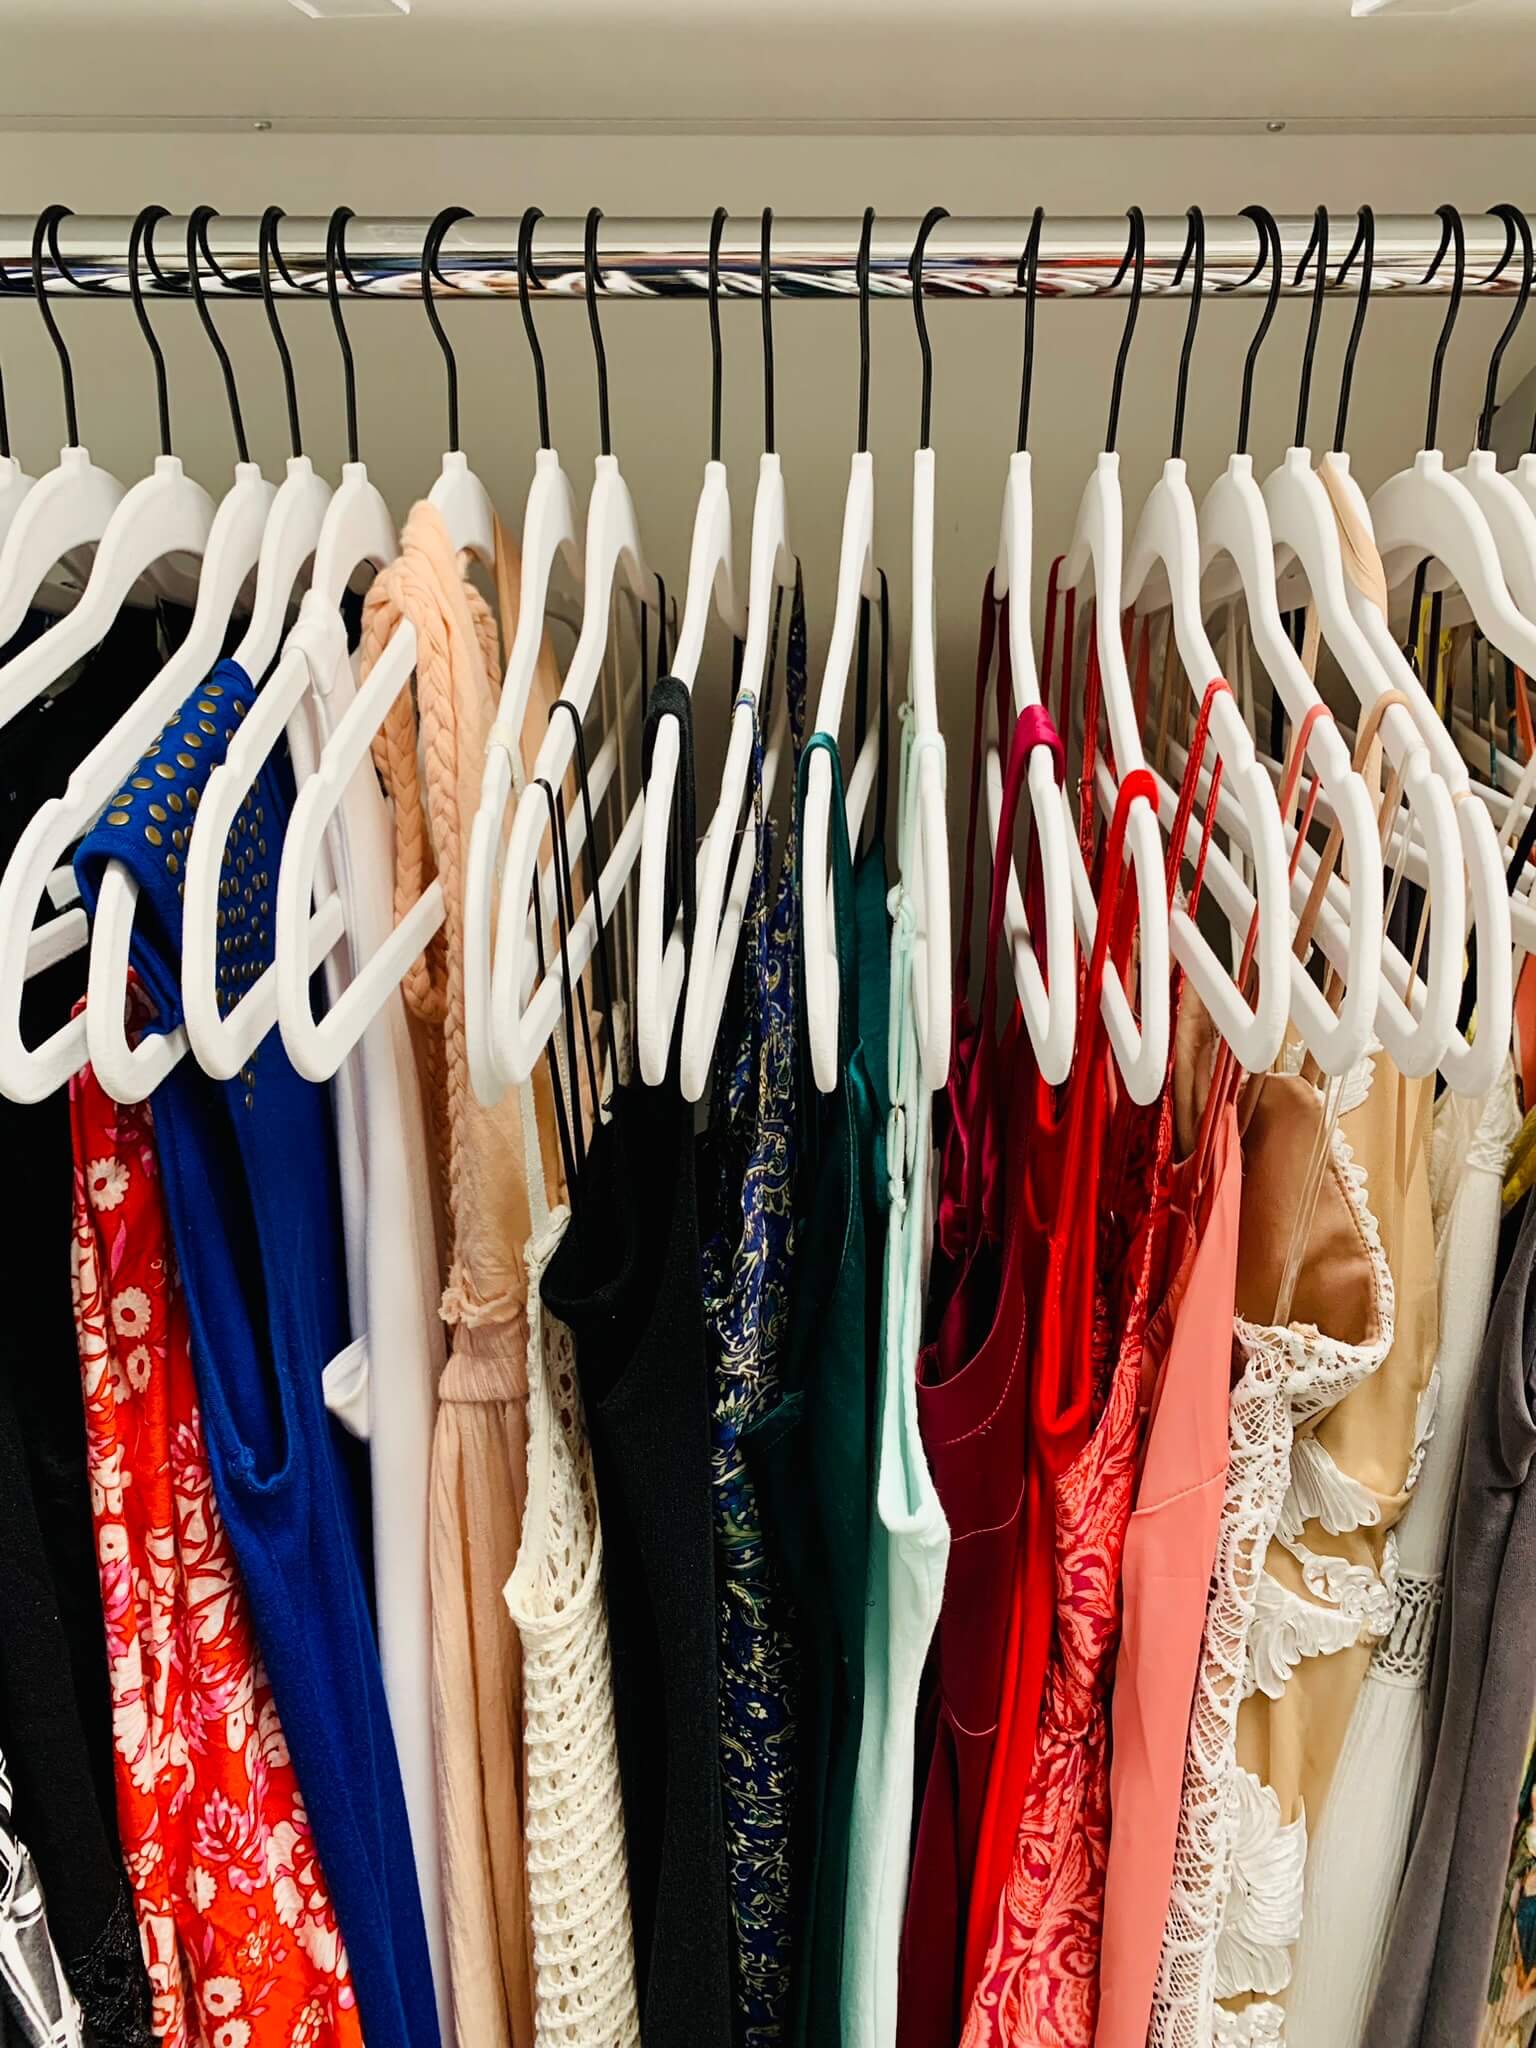
If there’s only one thing to take from this post, it’s to use matching hangers. I can’t stress the importance of this. They are an absolute game-changer.
We went with the white velvet and black hook hangers, these are my favorite because they are gorgeous. Black is so elegant and makes a bolder statement than silver hooks.
ADD SHELF DIVIDERS TO KEEP THEM NEAT AND TIDY
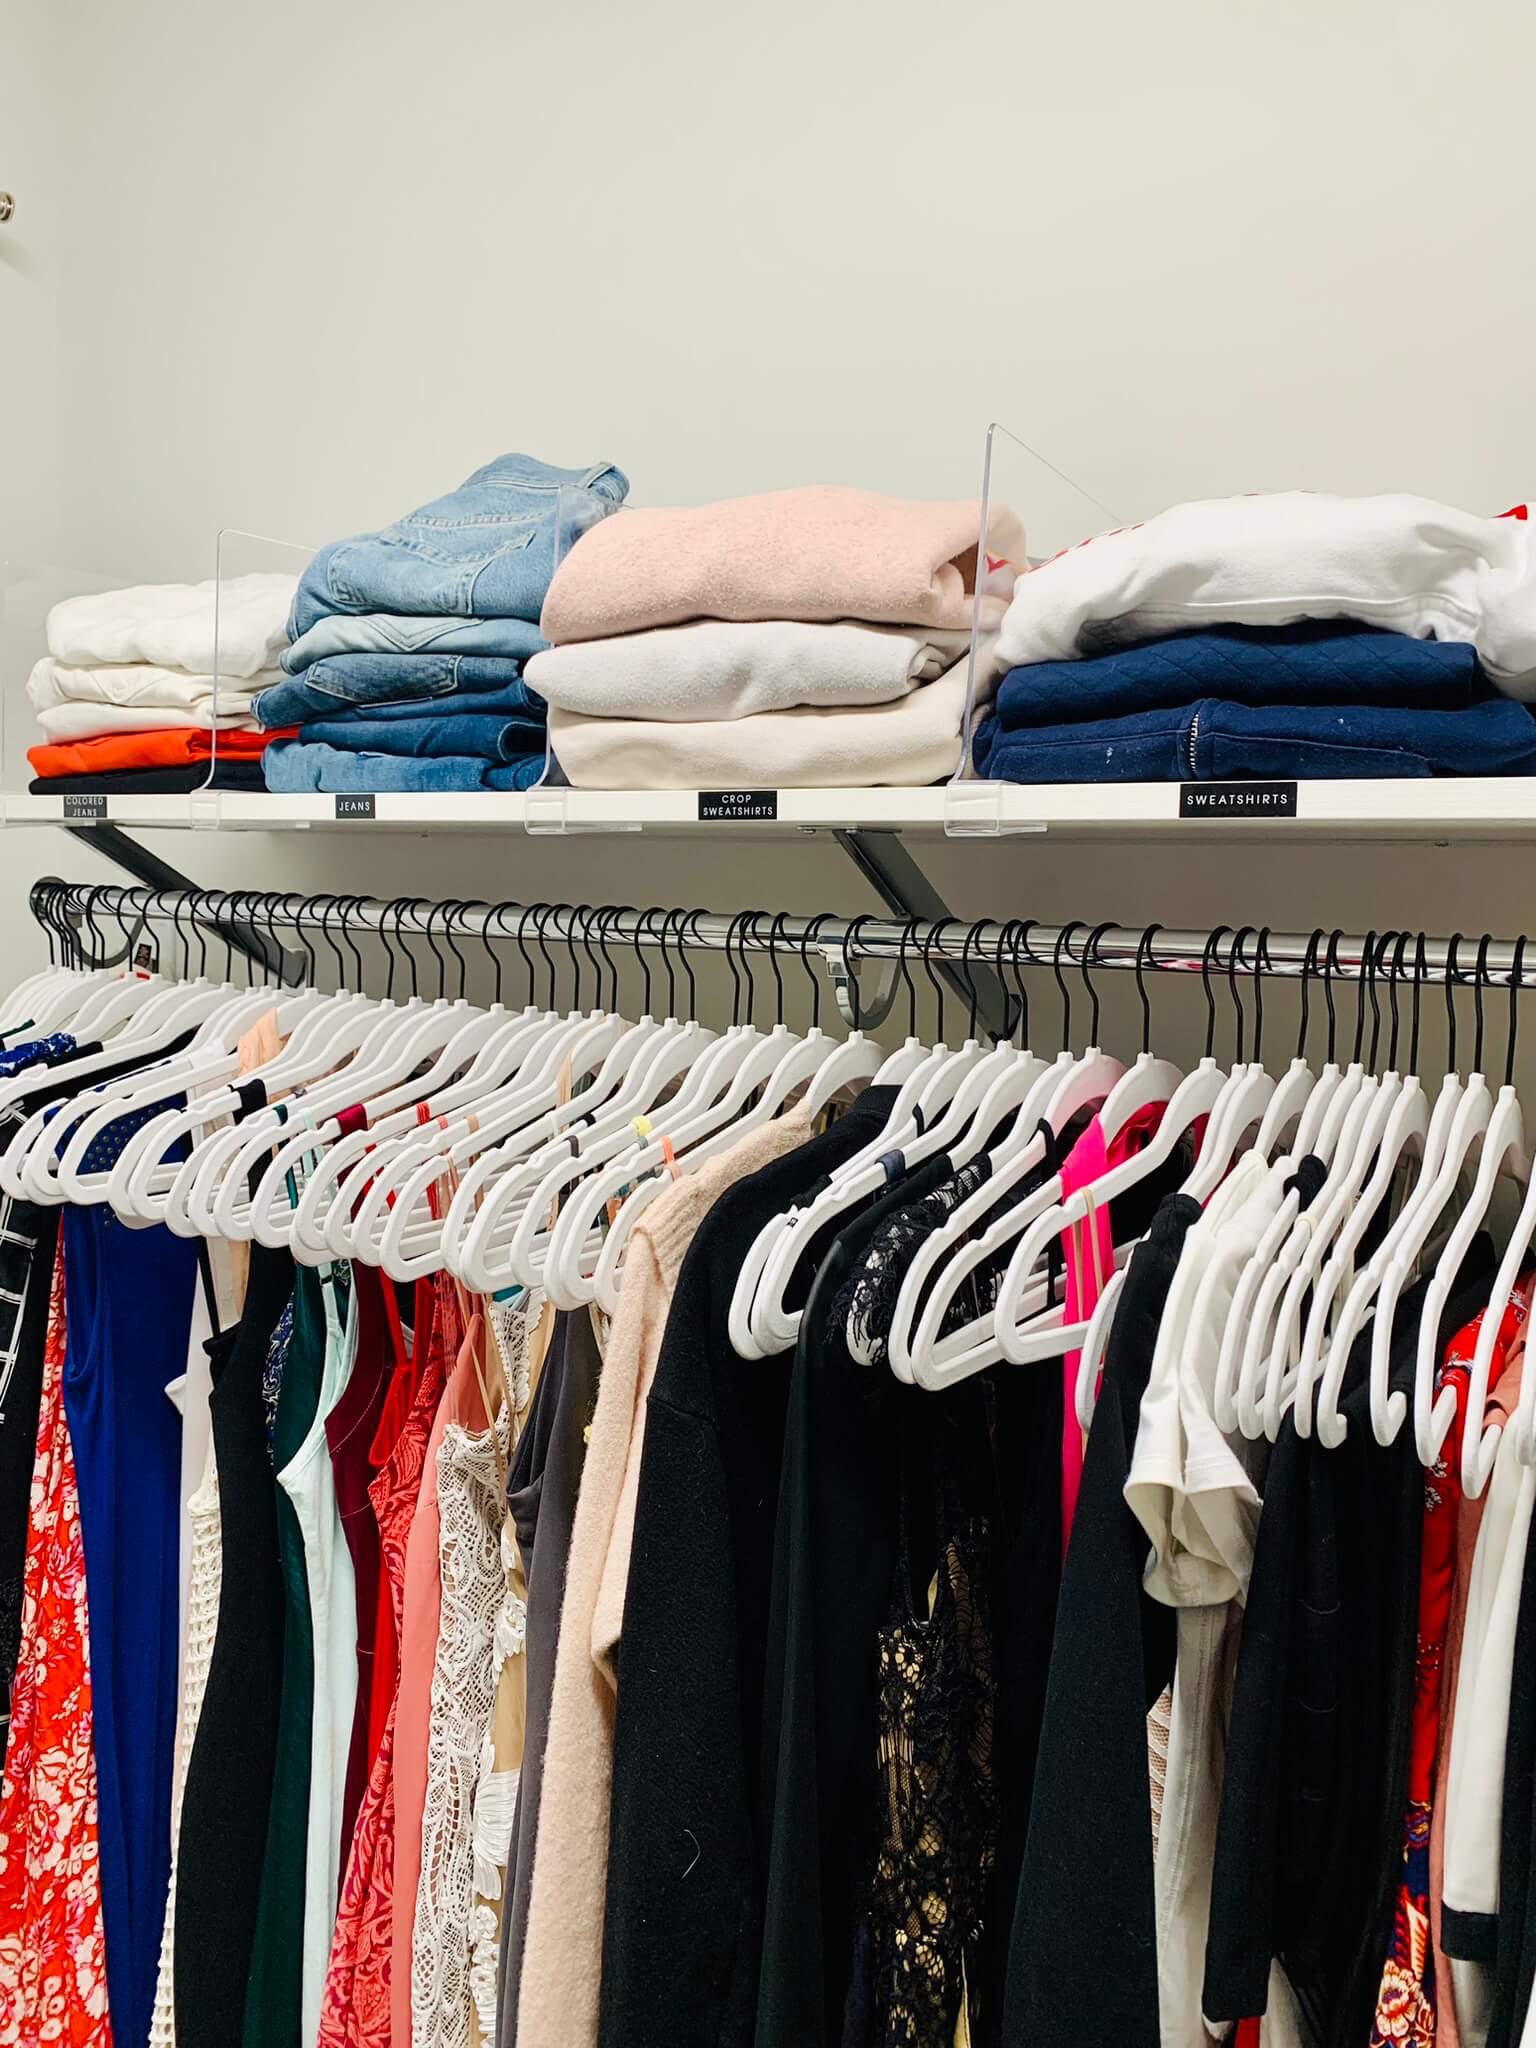
On the right side of the closet was the other shelf. We used shelf dividers here for jeans and sweatshirts. Adding the shelf dividers keeps the stacked piles neat and tidy, preventing them from falling over or becoming a jumbled pile.
USE HANDBAG HANGERS FOR PURSES
The other hangers we added were handbag hangers. Moving the handbags here got them off the floor and prevented the hook pile-up. Plus, she has beautiful handbags, so displaying them was a must.
We used the black hangers to blend with the white and black hooks for the other clothes.
MOVE SHORT HANG TO ONE SIDE AND LONG HANG TO THE OTHER SIDE OF THE CLOSET
With the dresser units on the left side of the closet, they needed to be accessible. The short tops, tanks, and coats were put on this side so they didn’t block the drawer unit like the dresses would. We started with the tanks and ended with the jackets color-coding each category as we organized.
On the opposite side of the closet is where all the dresses, rompers, skirts, and dress pants are hung. Again, each is sorted by type and then by color.
ADD HOOKS TO THE WALL TO HANG HATS
She had some great hats and robes she wore frequently. There was an open section on the wall when you first walked into the closet. We took extra large command hooks, placed them on the wall, and hung the four hats she had there.
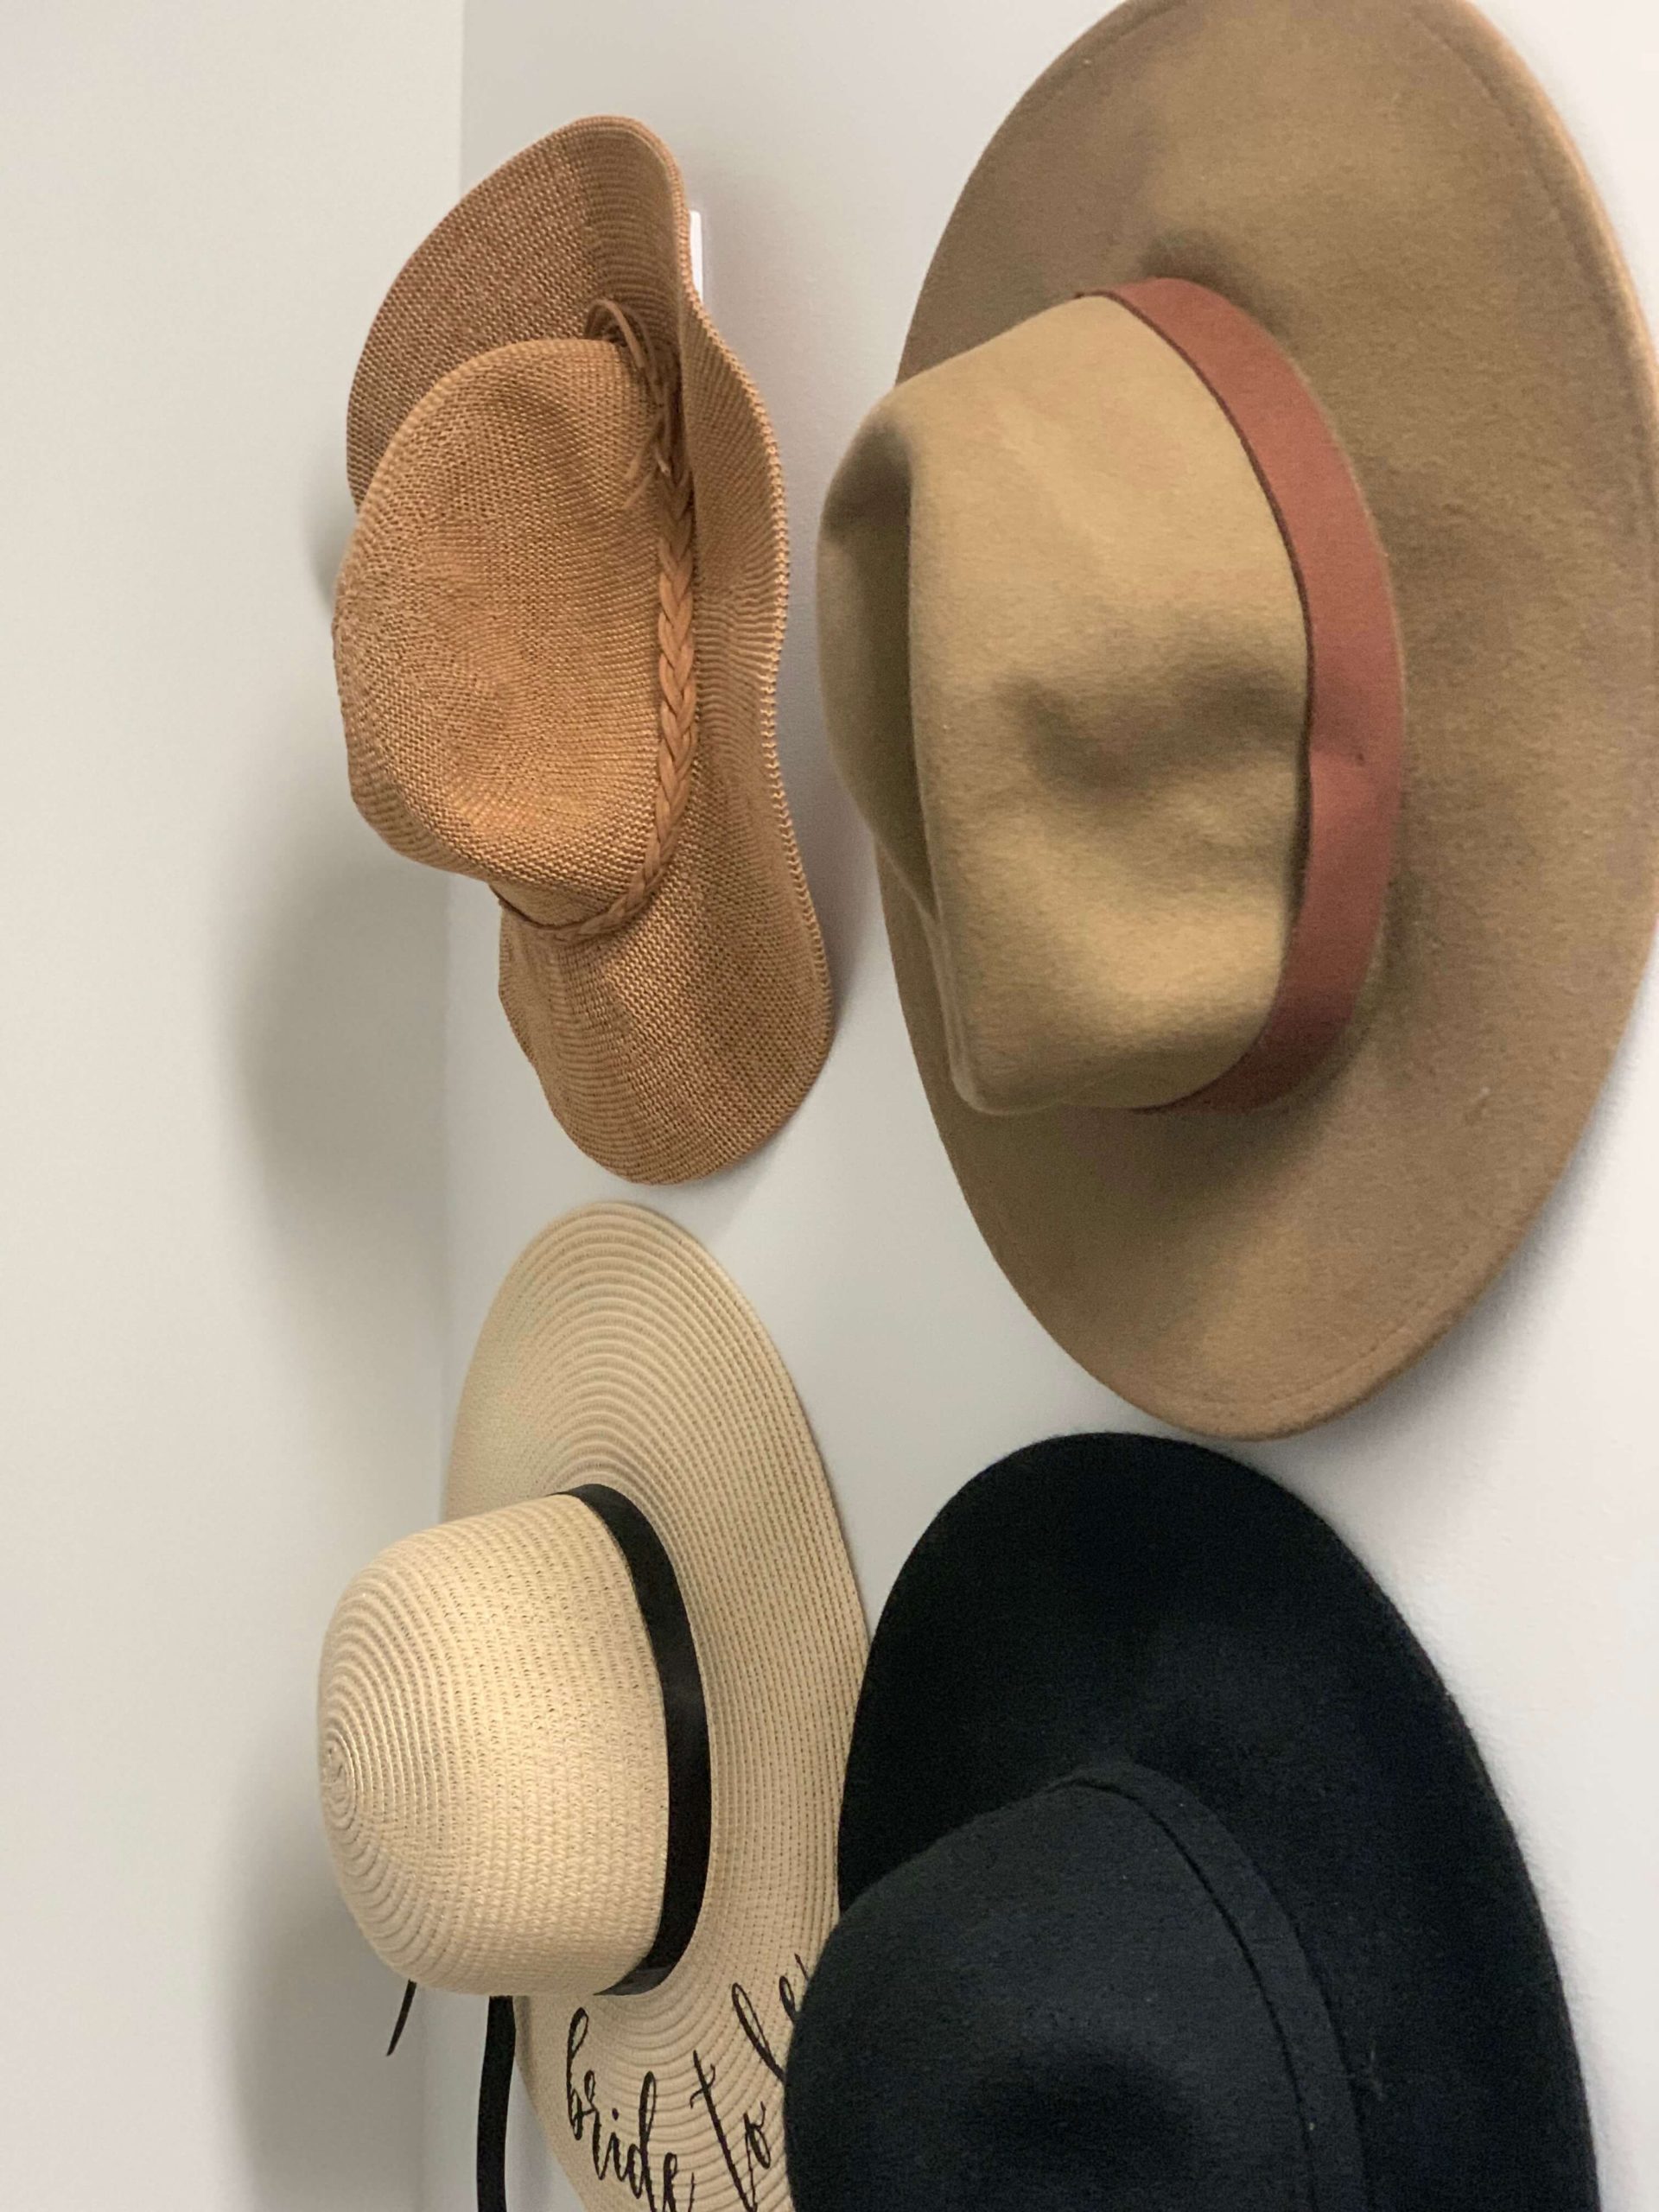
The second place we added these heavy-duty command hooks was at the end of the closet by the dresses. This is where the robes went.
Robes are big and bulky, this was causing the door to stay open halfway which we wanted to eliminate. Adding the hooks at the end of the shelves, opened up the door completely. Now she can go into her walk-in closet without having to push open the door or squeeze through it.
LABEL SHELVES AND DRAWER UNITS
Labels were the last step. This last step is often overlooked but very important. Without a label, things start to unwind and items move to other places.
It’s a tangled mess before you know it taking you back to where you were in the first place. Labels are the GPS to your space, they keep things going back to the right places.
Not every single thing will require a label or even have room for it but label when possible.
WALK-IN CLOSET AFTER
These six products completely transformed her closet. It’s now something she loves going into instead of dreading it. Annoyance is a thing of the past and enjoyment is here now.
FINAL THOUGHTS
Your closet shouldn’t annoy you, it should excite you. It should be something you can’t wait to get to, like your morning coffee.
There is a quote out there by Amy Fine Collins that says it best:
“Opening up your closet should be like arriving at a really good party where everyone you see is someone you like.”
Go open your closet and see how it makes you feel. If you love it, you’re on the right track. If you don’t, now is the time to create something fabulous.
+ show Comments
- Hide Comments
add a comment